


Residential Artificial Turf Installation
Discover the perfect alternative to traditional grass with HomeTurf’s artificial turf solutions. Located in San Diego, we offer durable, beautiful, and environmentally friendly artificial grass that will improve your outdoor space and with very little maintenance. It’s great for homes, commercial spaces, playgrounds and sports fields.
Why Choose Artificial Grass in San Diego?
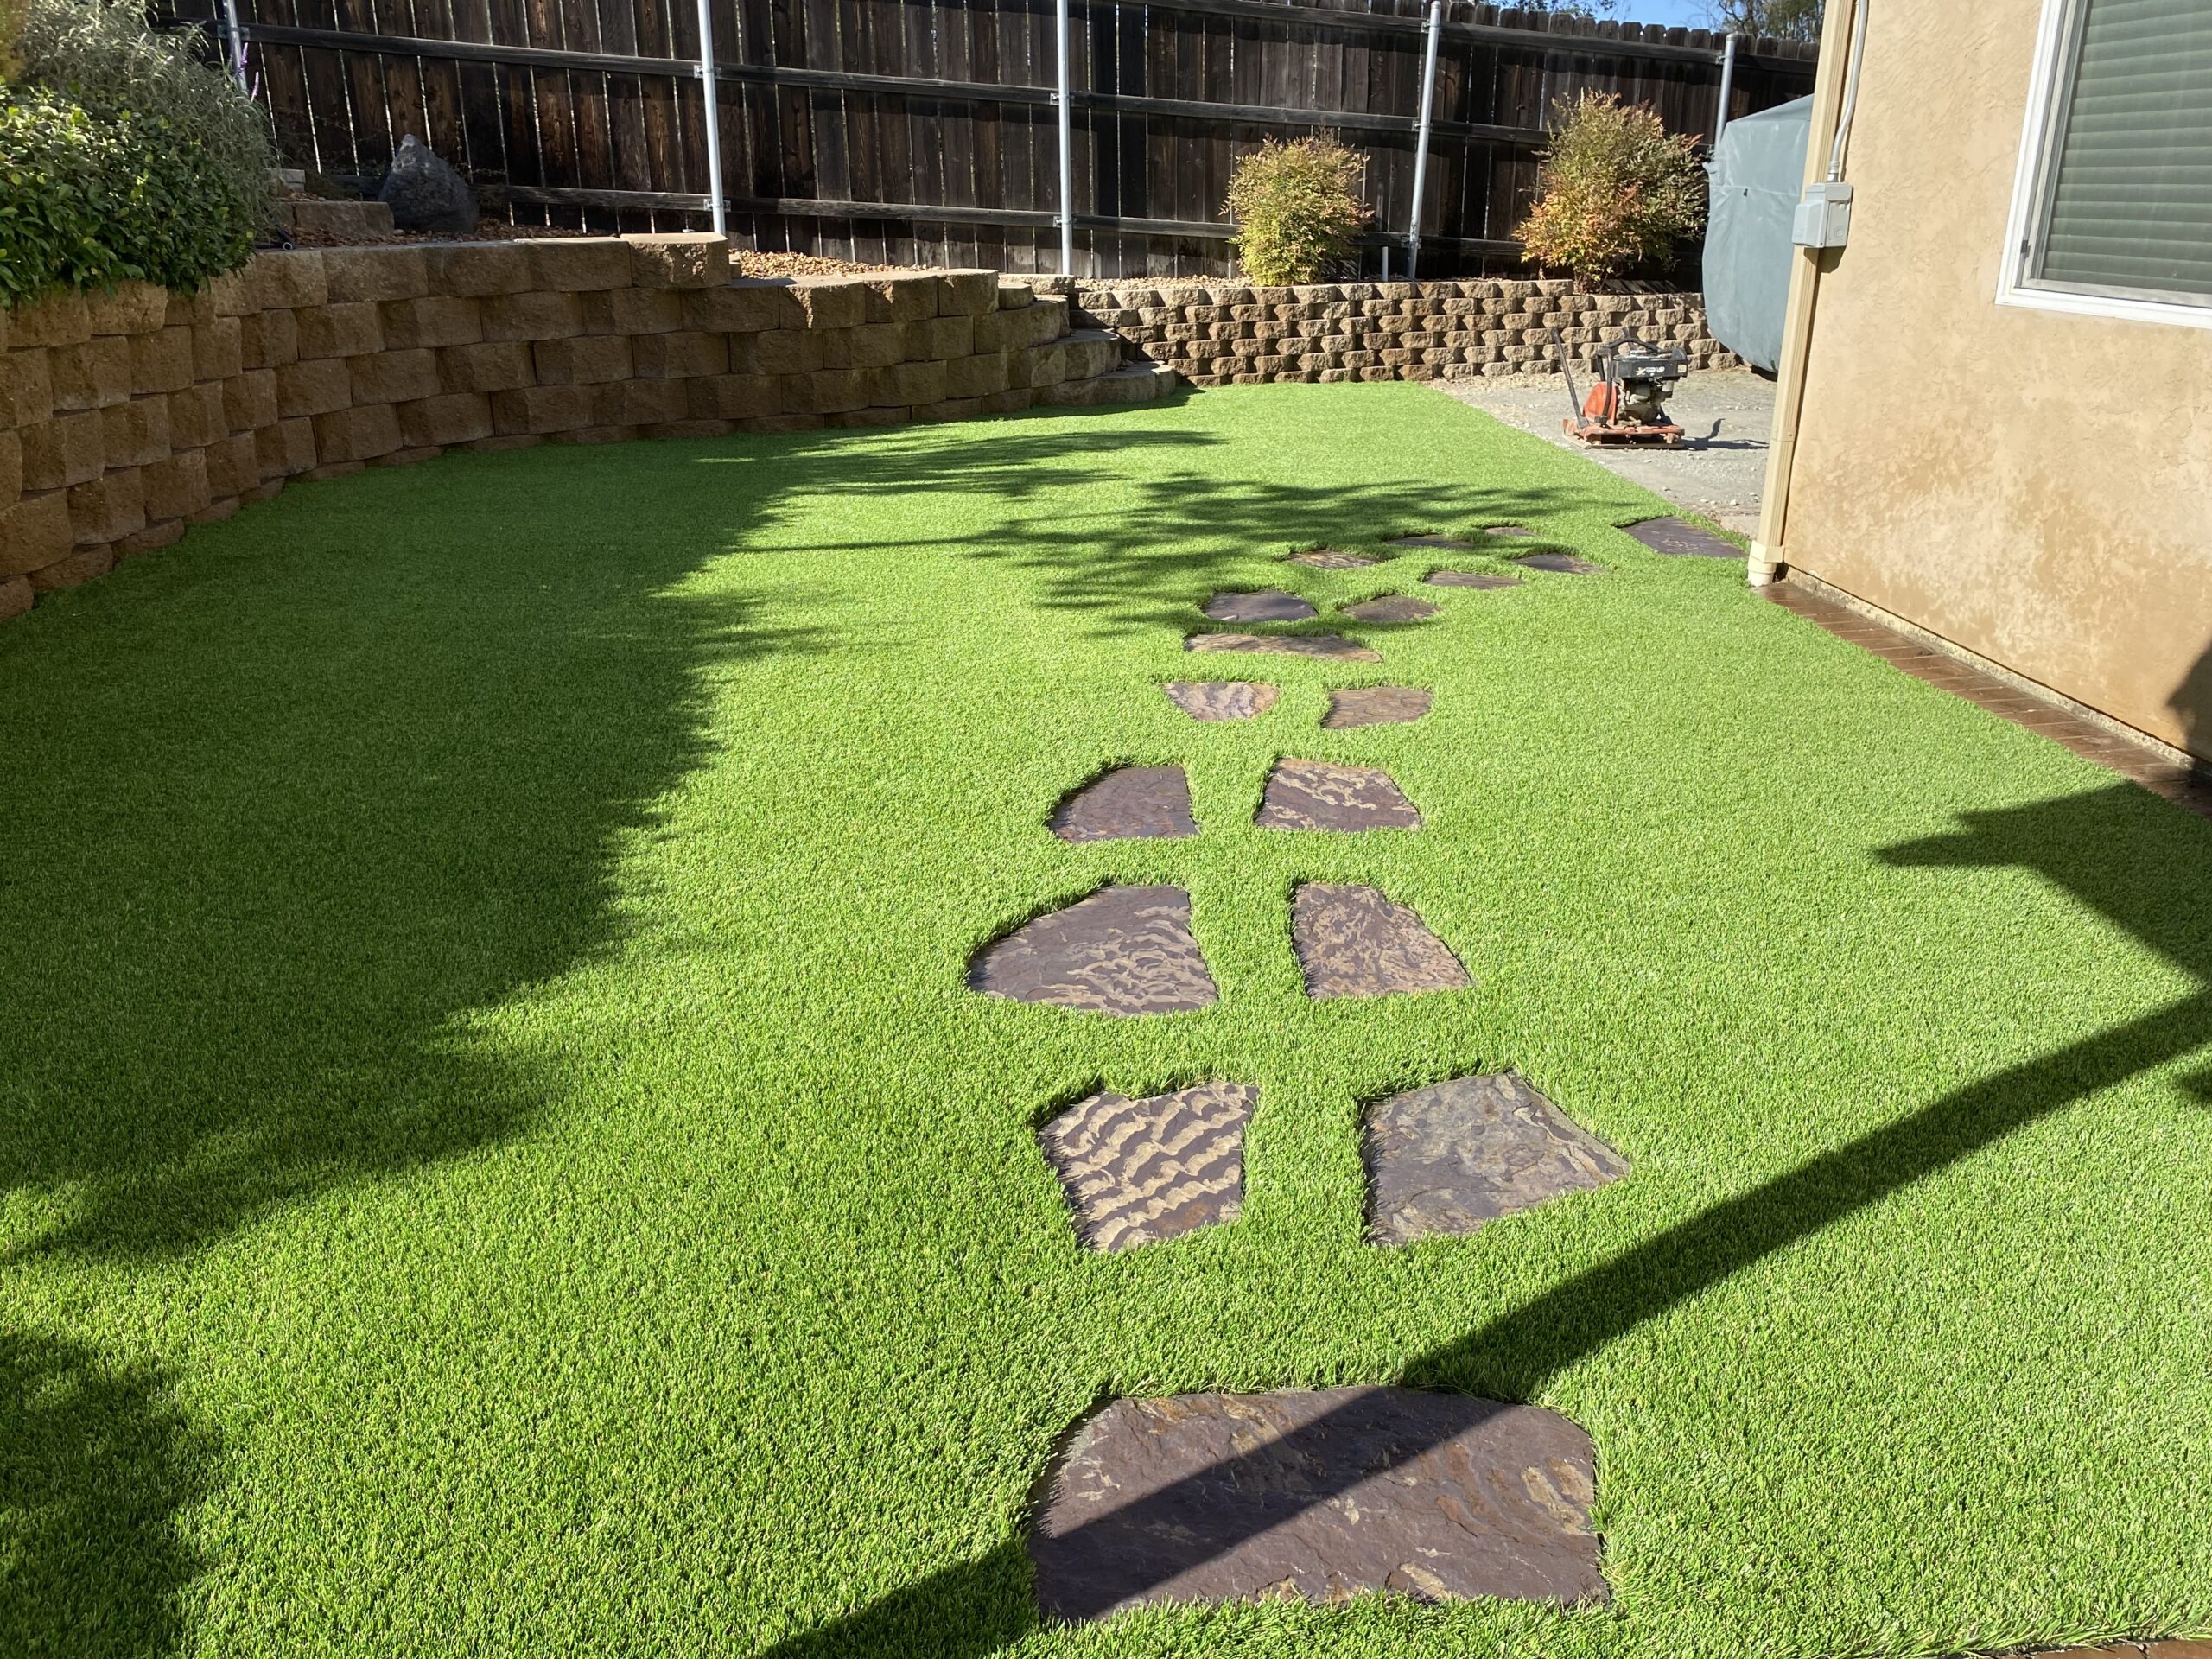
With San Diego’s dry weather, water conservation is a priority. Switching to artificial grass is the smart and sustainable choice. Our artificial grass:
- Saves thousands of gallons of water each year
- No more maintenance—no mowing, watering, or fertilizing
- Your yard stays lush and green year-round
HomeTurf’s San Diego Artificial Grass Products
We offer various types of artificial grass for every application, including:
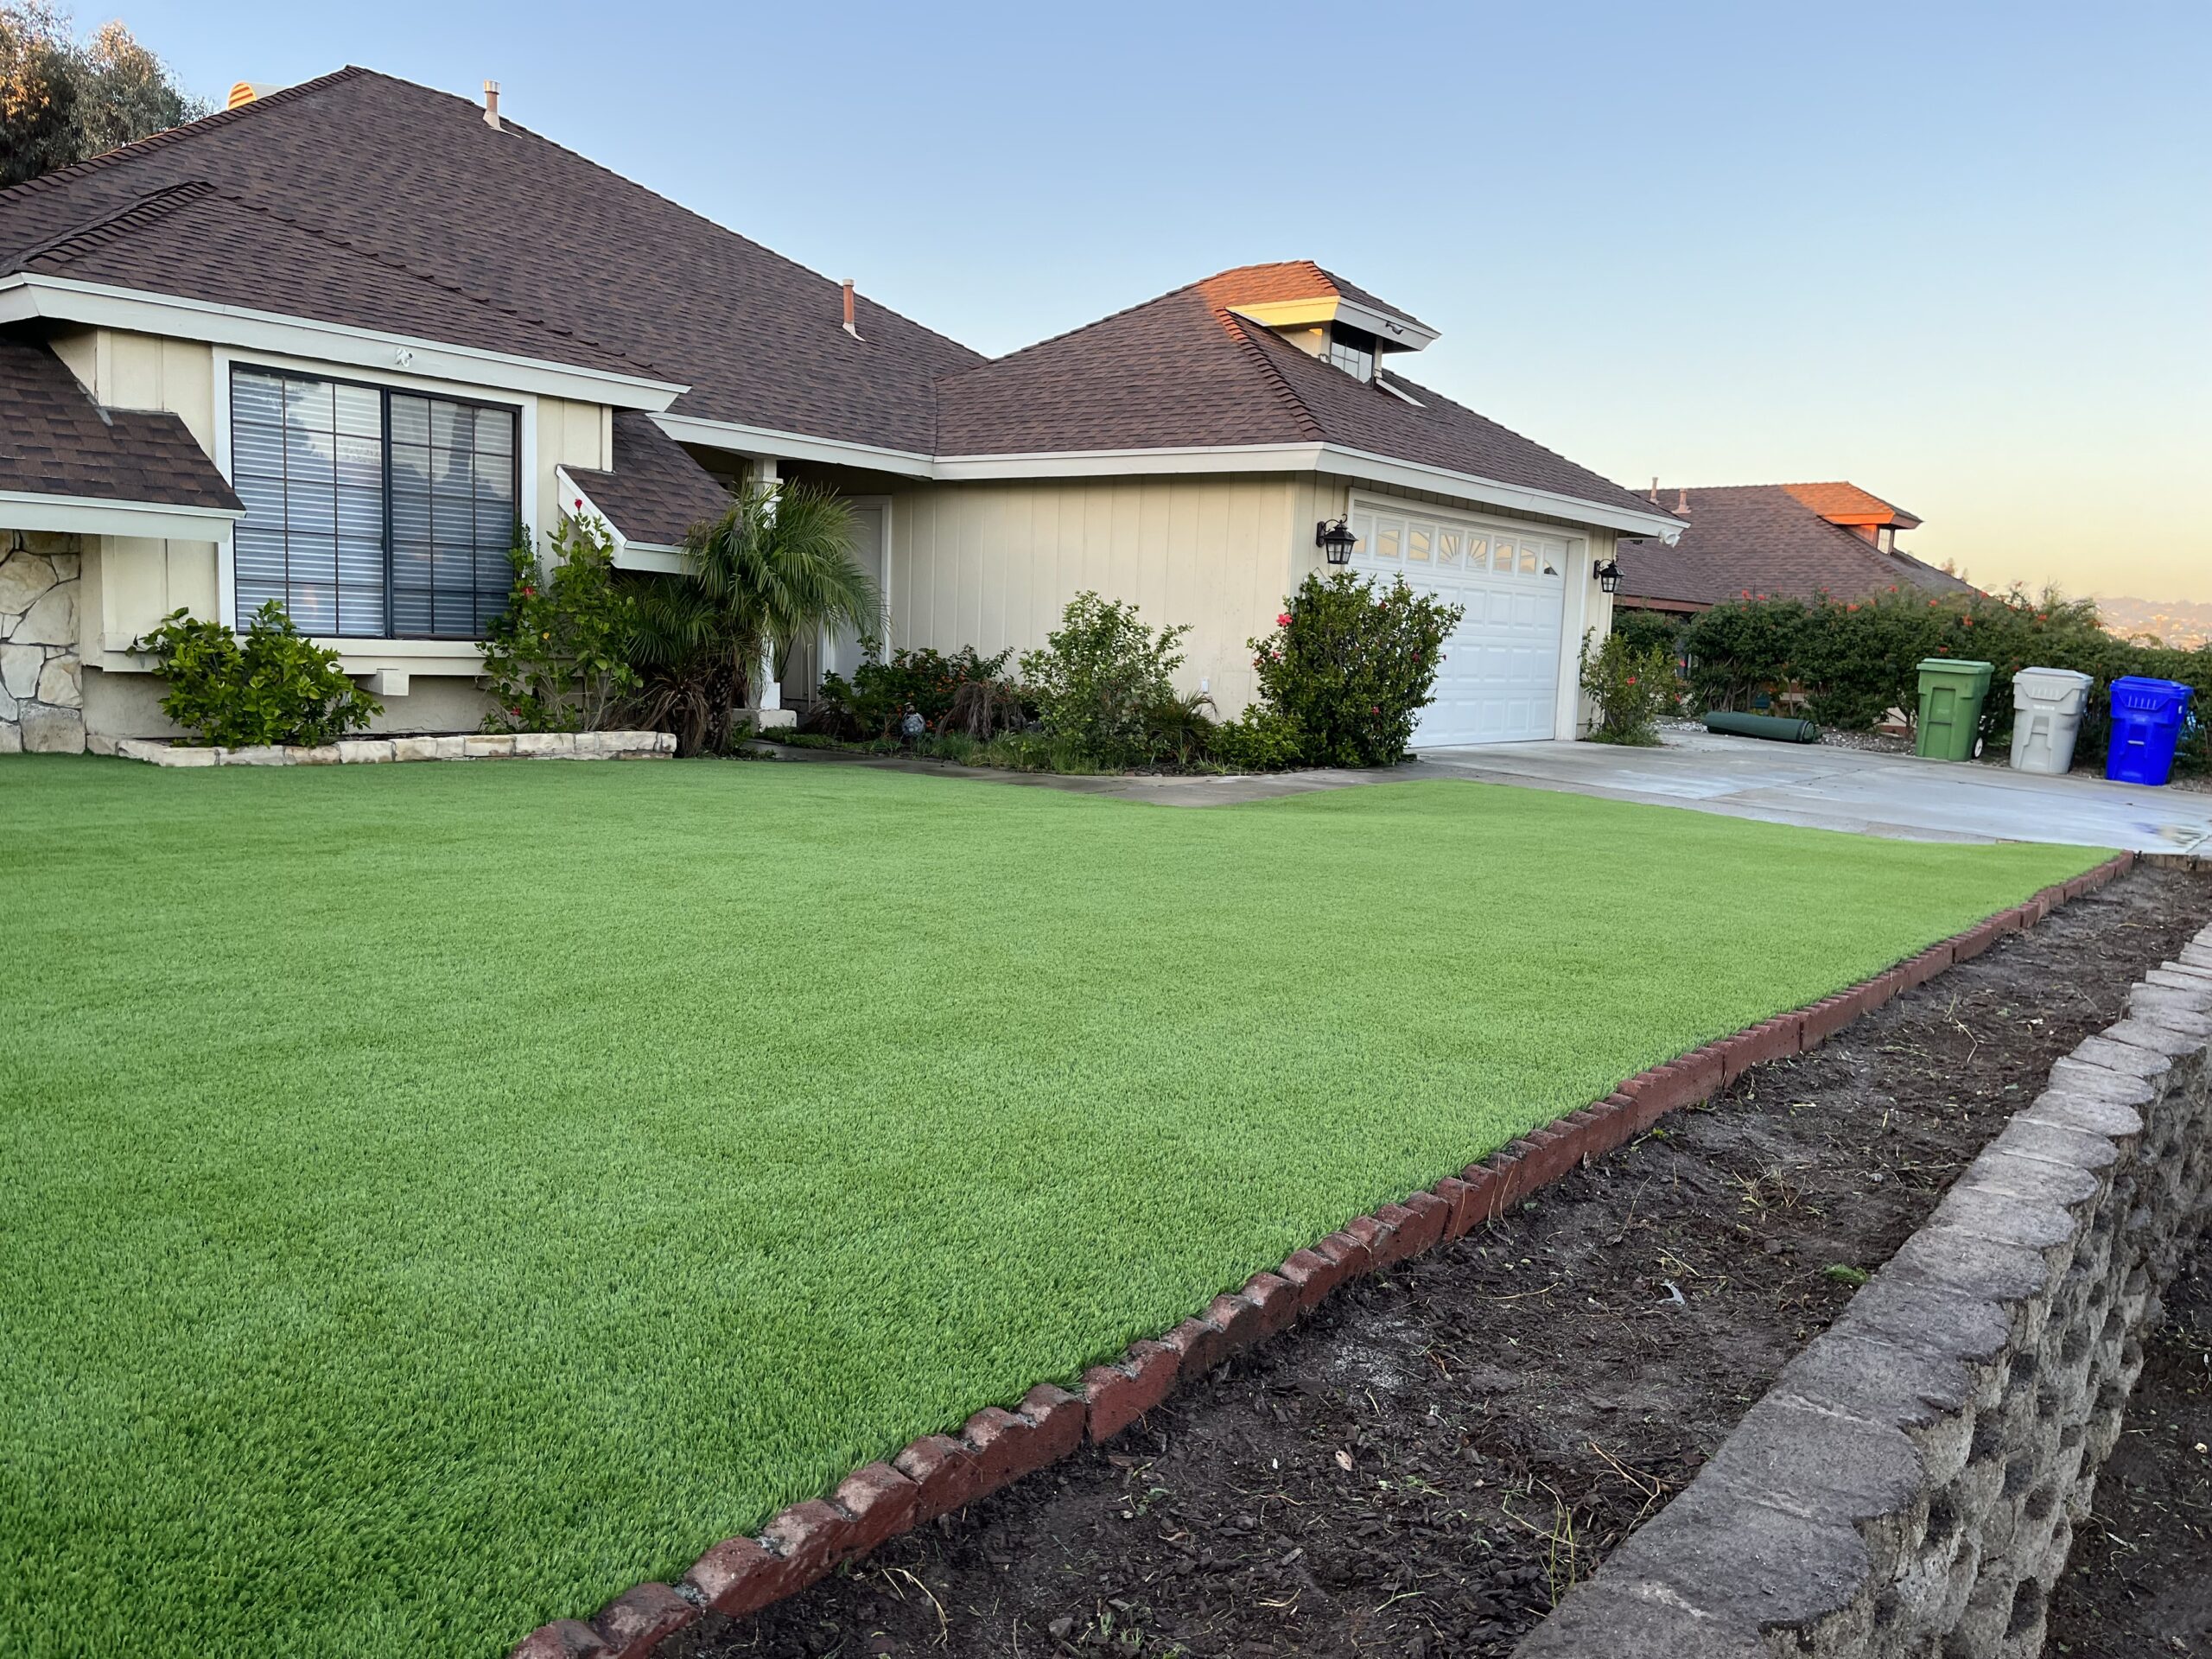
- Residential Lawns: Pet and kid safe, durable, and soft
- Commercial Landscaping: All keeps a professional look with long-lasting durability
- Playgrounds and Parks: Safe for children and cushioned for extra protection.
- Putting Greens: Every putting green is custom-designed with realistic ball roll for all enthusiasts
Benefits of Choosing HomeTurf for Artificial Grass in San Diego
- Premium Quality: Our artificial turf is engineered to withstand all heavy use while looking lush and green.
- Eco-Friendly: Our turf is made from recyclable materials, our turf products contribute to a greener planet.
- Expert Installation: With many years of experience, our team will install your grass seamlessly.
Frequently Asked Questions about Artificial Grass in San Diego
- Q: How long does artificial grass last?
With proper care, your synthetic grass can last 20-25 years with minimal maintenance. - Q: Is artificial grass safe for pets?
A: Yes! our pet turf is safe for pets and kids. We have designed our turf with your kids and pets in mind. It’s durable, realistic and easy to clean.
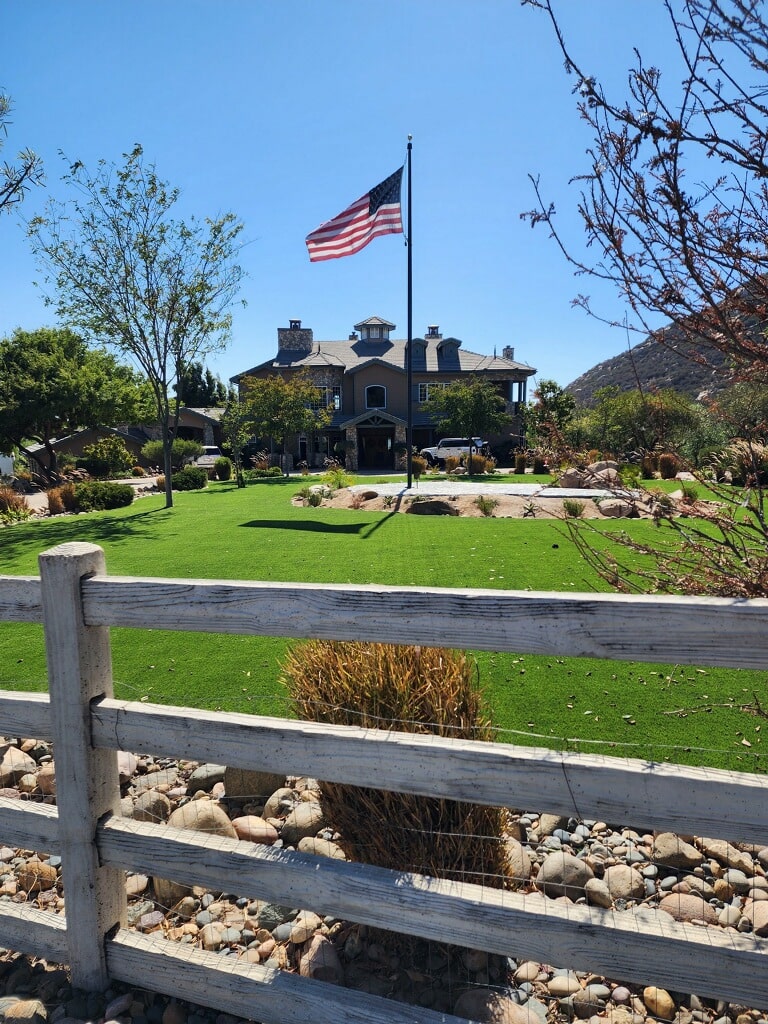
Why San Diego Trusts HomeTurf for Artificial Grass Installation
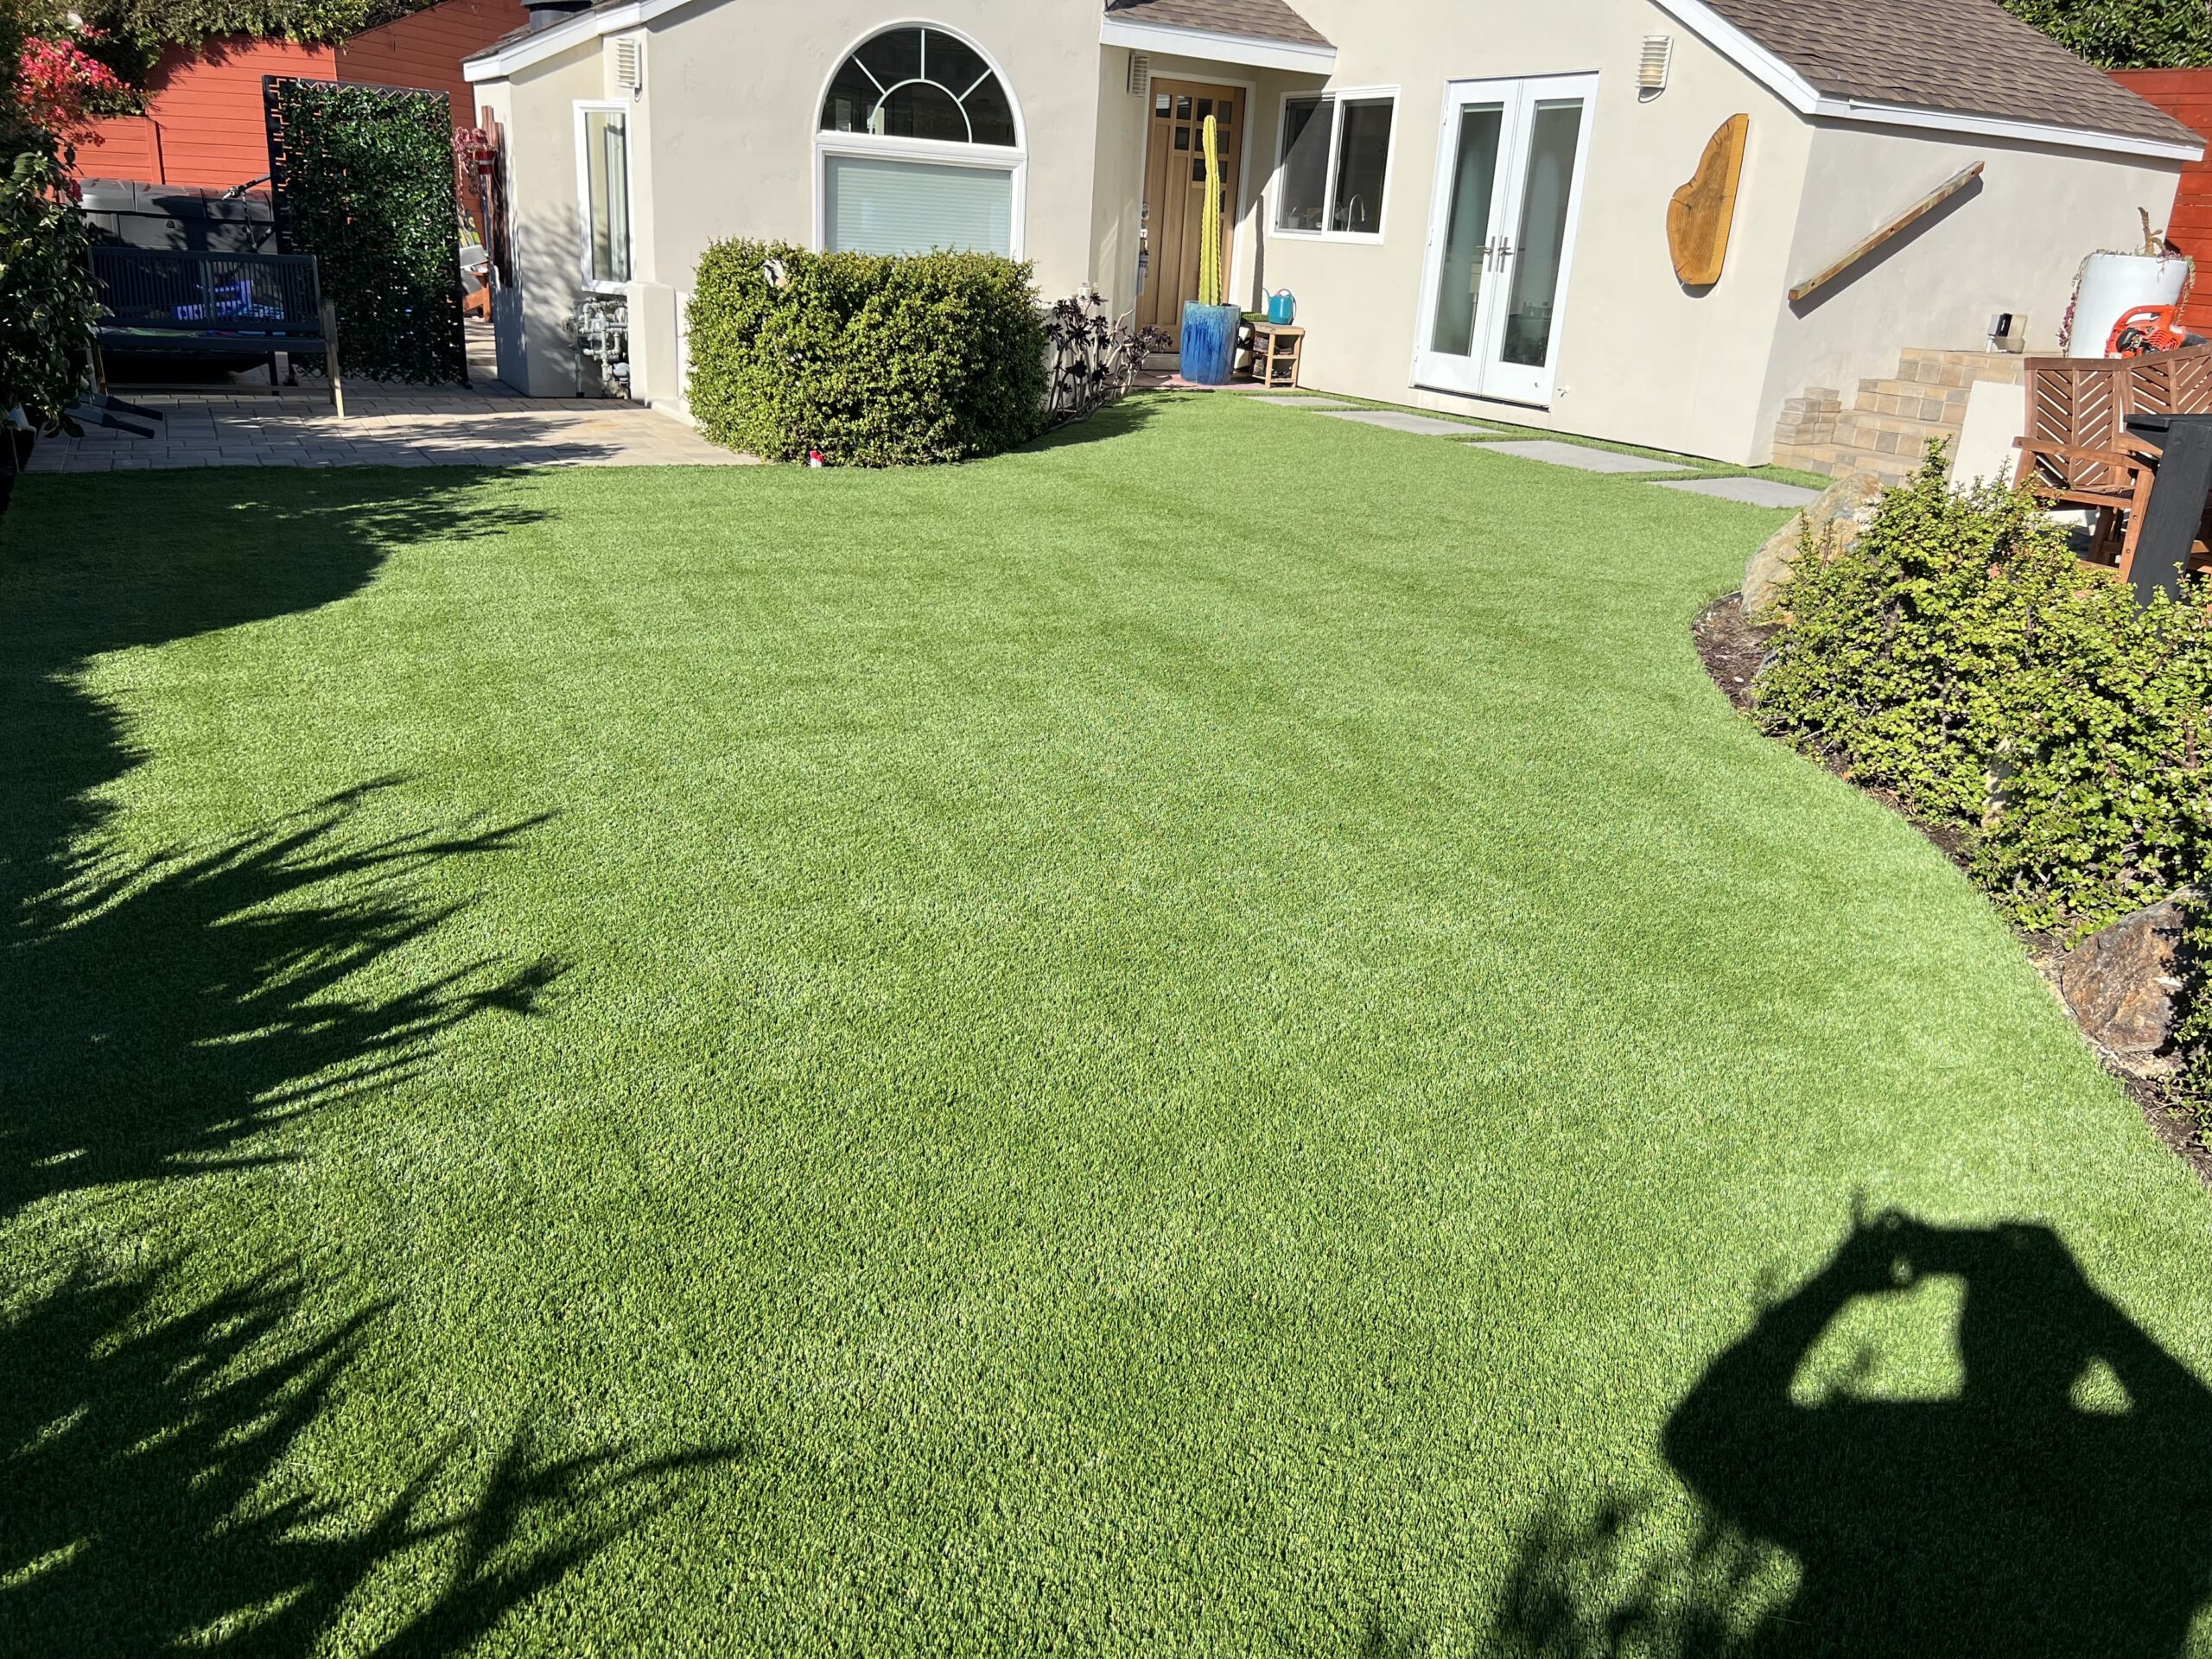
We have been installing artificial grass for over 18 years. HomeTurf is San Diego’s top provider for artificial grass. We are committed to quality installation, and customer satisfaction. All of our turf installs come with a lifetime warranty.
Contact HomeTurf San Diego for Your Artificial Grass Needs
Are you ready to upgrade your landscape with HomeTurf’s San Diego premium artificial grass? Contact us for your free, no obligation, free estimate. Find out why so many homeowners and businesses choose us for quality, reliable, and durable landscape solutions. Just picture having the perfect, low maintenance, water saving yard for years to come. Call now at 619-467-7784 or fill out the contact form.
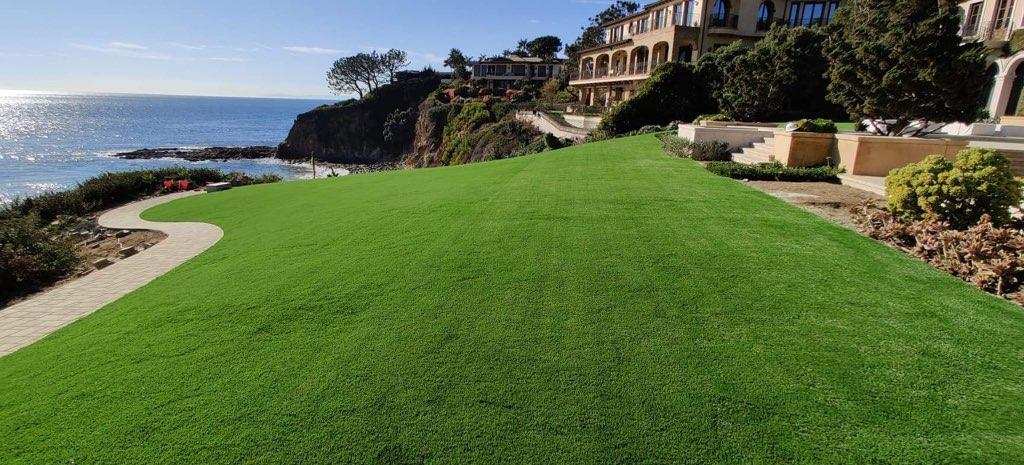
Start Your Commercial Artificial Grass Project Today
Transform your commercial space with artificial turf and start enjoying a beautiful, low maintenance landscape. Contact HomeTurf in San Diego for your free consultation and we can explore your options for commercial artificial grass. We can help create a beautiful, eco-friendly commercial space that everyone can enjoy.
The HomeTurf Advantage
Fill Out The Contact Form
To Schedule a Free Estimate
Hear what People Say About Us
I am extremely pleased with the work provided by this company. Having dealt with many construction projects in the past, I often found them merely acceptable, with something always not quite right. However, the craftsmanship and attention to detail from this team blew me away. They offered great suggestions for handling the irrigation lines and executed them thoughtfully, far exceeding my expectations. The results are beyond satisfying. I highly recommend their services!
Sam

We are very happy with the work that SD Home Turf did in our backyard. Rich met with us, showed us samples, and gave us good design feedback for our backyard. They had a competitive price and installed very quickly.
Todd

Easy, straightforward quote. They showed up right on time and worked hard to make it perfect. When the job was done our yard and surrounding areas were so clean it was like they were never here. The best part is their service. They are super responsive and really listen. We would use them again and highly recommend them for quality work. George is someone you can trust!
Judianne


