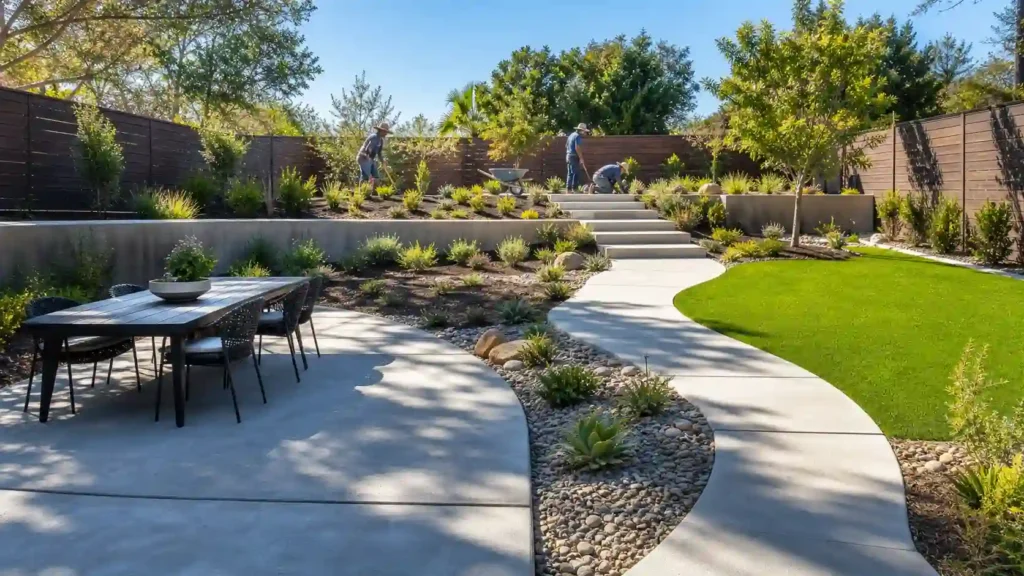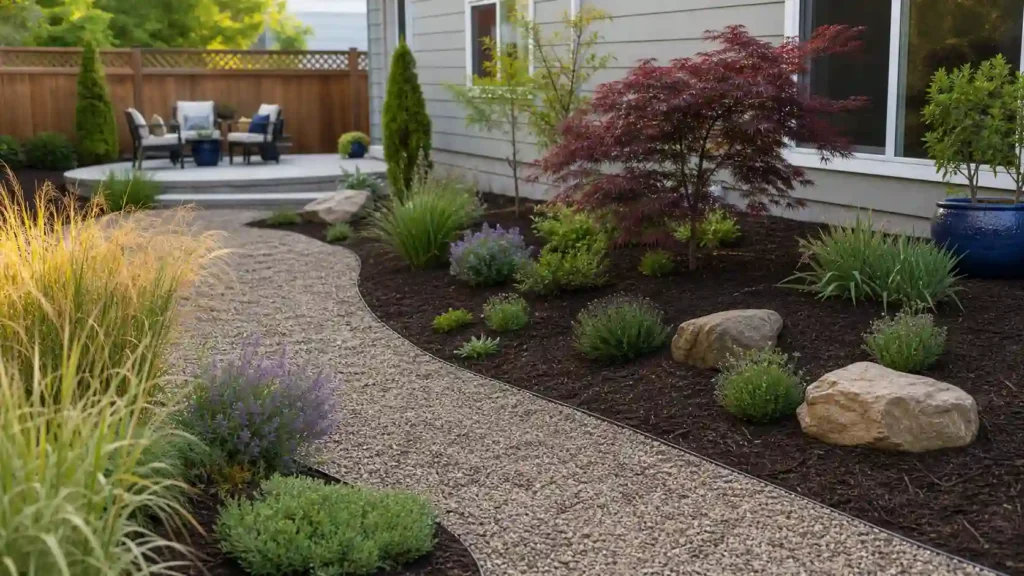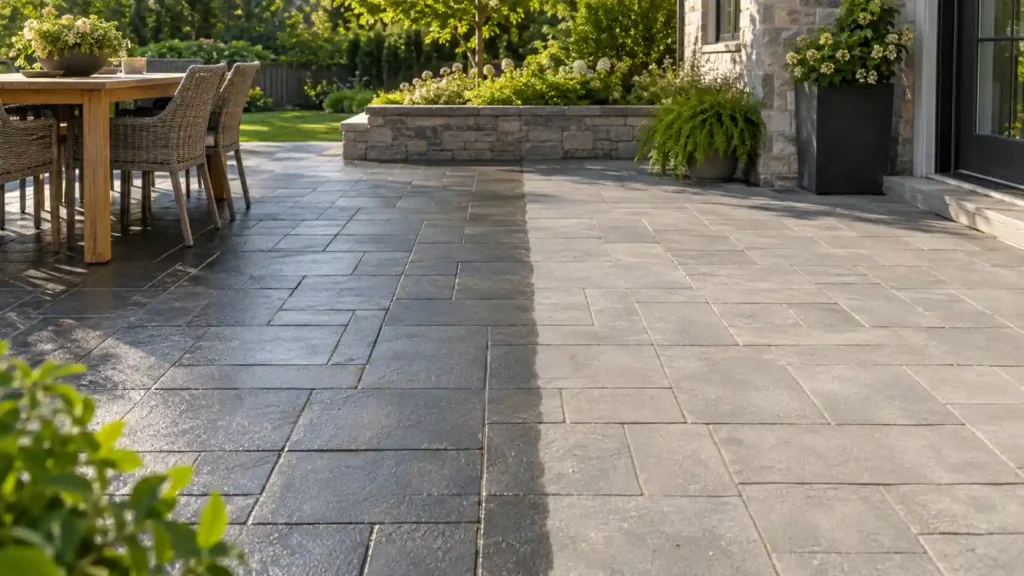

The right cleaning method depends on rock size and the type of dirt. You can rinse larger stones in place, but small gravel often needs removal. Dry debris should come off before water touches the stones.
To learn how to clean rocks for landscaping, first check where the dirt sits. Dust on top needs a simple cleanup, while soil trapped between stones needs sifting. The following methods help clean the rocks without wasting water, scattering gravel, or harming nearby plants.
How to Clean Large Landscape Rocks Without Removing Them
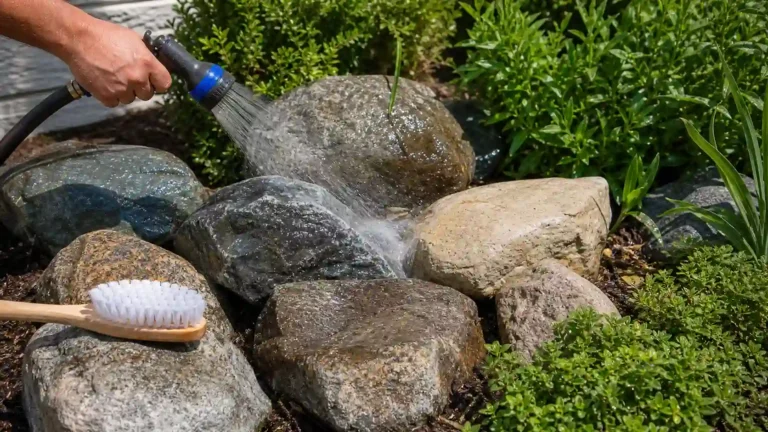
Large decorative rocks, boulders, and exposed flagstone usually do not need to be removed for cleaning. Start with dry cleanup, then use water only where dirt remains.
Remove Dry Debris Before Washing
Remove leaves, branches, pine needles, grass clippings, and loose mulch first. Use a rake or your hands to collect larger pieces. Pull visible weeds carefully so their roots do not spread through the bed.
A leaf blower can clear dust and light debris from larger stones. Keep the setting low and direct debris toward an open edge. Avoid blowing small pebbles or loose gravel because they can scatter into nearby areas.
Do not start with a hose. Water can turn loose soil, old mulch, and plant debris into mud. That mixture can settle deeper between the stones and make the job harder.
Test a Small Area With a Garden Hose
Before rinsing the entire bed, choose a small section near an accessible edge. Use a garden hose with an adjustable nozzle and start with gentle water flow.
Watch where the dirt moves. If loose soil leaves the stones easily, continue in small sections. If water creates muddy pools or pushes soil toward nearby plants, stop and change your approach.
This small test helps you spot drainage problems before they affect the whole bed.
Direct water through the gaps between the stones. Avoid spraying soil out from underneath them. Work toward a suitable drainage area instead of sending muddy water onto paths or planting beds.
Scrub Stubborn Dirt, Moss, and Algae
Some dirt stays attached even after rinsing. Use a stiff nylon or non-metallic brush to remove mud, moss, and algae from exposed surfaces.
Wet the affected spot first. Scrub gently, then rinse away the loosened material. A smaller brush can reach narrow gaps between larger stones.
Avoid metal brushes because they may scratch softer stone or leave marks. Also, do not use household cleaning products without checking whether they suit the stone.
If a stain remains, identify the rock material before choosing a cleaner. Natural stone types can react differently to acidic or harsh products. Ask the supplier for a suitable cleaning method when the material is unknown.
Know When a Pressure Washer Is Too Strong
A pressure washer is not the first tool to reach for. Strong water pressure can scatter loose stones, remove soil, expose landscape fabric, and damage nearby plants.
For suitable, sturdy stone surfaces, test a wide spray pattern at the lowest useful setting. Keep the nozzle moving and check the result before continuing.
Avoid directing high-pressure water into planting gaps or beneath rock edges. Do not use one fixed pressure setting for every stone. The right setting depends on the material, equipment, nozzle, and surface condition.
Finish with a gentle rinse. Check the backs of larger stones, narrow gaps, and the edges where mud may collect.
How to Clean Small Landscape Rocks and River Rock

Small gravel, pea gravel, and river rock are harder to clean in place. Dirt settles between the stones, and a hose may move the gravel without removing the trapped soil.
For cleaning river rock, removing the stones in manageable batches is usually more effective. It also gives you better control over the dirt and rinse water.
Remove Only One Section at a Time
Use a shovel to lift a small amount of gravel. Keep the shovel close to the surface so you do not mix extra soil into the stones.
Place the material on a tarp or in a collection area. Separate large leaves, sticks, roots, and mulch by hand.
Working in batches keeps the remaining bed in place. It also makes it easier to track which stones are clean and which still need washing.
Dry-Sift the Stones Before Adding Water
Set a sturdy sifting screen over a wheelbarrow or suitable collection frame. Hardware cloth can work as a screen if its openings are smaller than the stones.
Place a shallow layer of dry material on the screen. Shake it gently so loose soil and fine sediment pass through. Pick out leaves, decomposed mulch, and other debris left on top.
Test the mesh with a handful before processing the full batch. If stones fall through, use smaller openings. If soil remains trapped, reduce the amount on the screen and sift again.
This dry step is important because it removes loose material before washing begins. It reduces muddy water and makes the later rinse easier.
Rinse the Stones in a Draining Container
Transfer the sifted stones into a perforated bucket, mesh crate, or washing container with drainage holes. A milk crate can work when its openings are smaller than the stones.
Place the container over a wheelbarrow or catch tray to collect dirty water. A regular solid wheelbarrow does not drain by itself, so use a perforated insert when needed.
Rinse a small batch with a garden hose while gently moving the stones. This exposes dirt caught between their surfaces. Let the dirty water drain before rinsing again.
For loose leaves and light plant matter, briefly agitate the stones in a container of water. Remove the floating debris before draining the stones.
Check, Drain, and Return the Stones
Inspect the stones before putting them back. Look for remaining soil clumps, roots, mulch, and other visible debris.
Drain the water completely. Spread the stones on a clean tarp when they need to dry before reuse.
Do not keep washing a batch just to make every drop of water perfectly clear. Some fine mineral particles can remain suspended. Focus on removing visible soil, muddy residue, and trapped organic matter.
Return the stones to the bed after checking its drainage and edges. Spread them evenly so water does not become trapped in low spots.
How to Clean Landscape Rocks Without Killing Plants
Cleaning near live plants requires more control than washing loose stones away from the garden. The aim is to remove dirt without exposing foliage, roots, or surrounding soil to unnecessary pressure and chemicals.
Use Plain Water Around Planting Beds
Plain water is the best starting point for dust, loose soil, and ordinary dirt. Avoid bleach, salt, and strong household cleaners around plants.
Do not assume vinegar is a harmless natural cleaner. Acetic acid is a non-selective contact herbicide. It can damage the foliage it touches, including desirable plants.
The University of California Agriculture and Natural Resources explains how acetic acid damages plant tissue on contact.
For stubborn stains, remove the affected stone and clean it away from the planting bed when possible. Check the stone supplier’s care advice before using any cleaning product.
Keep Water Away From Leaves and Exposed Roots
Aim the hose toward the stones rather than directly at plant leaves, stems, and roots. Reduce the flow near small plants and shallow-rooted vegetation.
Use a hand brush where the hose cannot reach safely. This gives you better control around tight spaces.
Avoid forcing water underneath the stones. It can loosen the soil that supports nearby plants and disturb their roots.
Control Where Dirty Water Goes
Watch the water as it leaves the cleaning area. Muddy runoff can carry soil into planting beds, across paths, or down slopes.
Clean removed stones over a catch tray or in a draining container. For rocks that remain in place, rinse only small sections at a time.
Stop if water begins pooling around plant bases or washing soil away. Let the area drain before continuing with a gentler method.
When Should You Reset a Rock Bed Instead of Cleaning It?
Sometimes washing cannot solve the problem because dirt has accumulated below the visible stone layer. In these cases, removing and cleaning the rocks separately may be more practical.
Identify Dirt Trapped Below the Surface
Look for thick sediment, compacted mud, decomposed leaves, and old mulch filling the spaces between stones.
Weeds growing through the gravel can also indicate accumulated soil. Rinsing the top will not remove material packed underneath.
Lift a small section and inspect the lower layer. If the stones are heavily coated and the soil beneath is packed with debris, consider resetting the bed.
Find Where the Dirt Is Coming From
Before returning the clean stones, inspect the area underneath them. Look for damaged landscape fabric, exposed sections, and gaps around the edging.
Check nearby planting beds too. Loose soil and mulch can enter through low edges or wash into the rock area.
Cleaning the stones without fixing the source means the same problem can return. Repair damaged fabric where appropriate and secure loose edging before reinstalling the rocks.
Clean and Reinstall Reusable Stones
Remove the remaining stones in manageable batches. Separate reusable material from roots, soil, and debris.
Dry-sift and rinse the reusable stones using the methods above. Clear unwanted material from the bed and correct any drainage or edging problems.
Return the clean stones in an even layer. Keep them away from plant crowns and avoid blocking the path of surface water.
When a bed needs a full replacement or a new layout, explore SD Home Turf’s decorative rock installation services in San Diego County.
You can also visit SD Home Turf to learn more about the company’s outdoor improvement services.
Frequently Asked Questions
How often should I clean landscape rocks?
Remove leaves, twigs, and weeds whenever they collect. Check the bed after storms, strong winds, and heavy leaf fall. Deep cleaning is only necessary when visible dirt builds up between the stones. Regular dry cleanup can reduce the need for washing.
Can I clean decomposed granite the same way?
No. Decomposed granite contains fine particles that can wash away with excess water. Do not treat it like loose river rock or pea gravel. Remove leaves and debris by hand or with a low-setting leaf blower. Avoid soaking the surface. If you notice muddy spots or ruts, assess the damaged area before adding or replacing material.