...

SD Home Turf

4.8
(90 Ratings & Reviews)

DIY vs Professional Installation

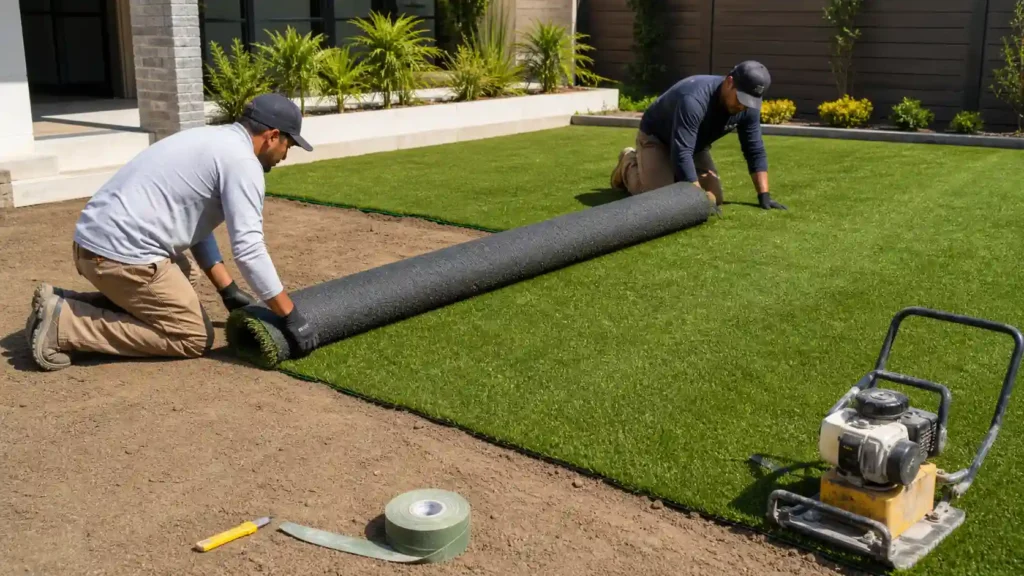
How to Choose the Right Artificial Turf Installer: two crew members rolling out artificial turf over a prepared soil base in a backyard.
DIY vs Professional Installation

How to Choose the Right Artificial Turf Installer

Choosing an artificial turf installer is about more than finding a low quote. The right contractor should show proven experience, explain the installation plan, prepare a stable base, solve drainage issues, use quality materials, and stand behind the finished work. Before you sign an agreement, compare each installer on the same core points. Look at their credentials, past projects, seams, written estimate, materials, and warranty. This makes it much easier to spot the difference between a skilled installation crew and a company that mainly sells turf. This guide walks through the 11 things that actually separate a solid job from a costly mistake. 1. Look for Proven Artificial Turf Installation Experience Start with the installer’s actual experience, not just the number of years listed on a website. Ask how long the company has performed artificial grass installation and how many similar projects it has completed. Experience with a small residential lawn is useful, but a large yard, sloped property, commercial area, or complex drainage site may require different skills. Ask to see completed projects that are close to yours in size and site conditions. A good artificial turf installer should be able to explain why a certain base, drainage plan, turf product, or installation method was used. You should also learn who will perform the work. A salesperson may know the products well, while the installation crew handles the actual site work. Ask about the crew’s practical experience with excavation, subgrade work, compaction, grading, seams, edge restraint, and infill. Strong evidence of experience includes: A consistent project portfolio Completed residential and commercial projects References from similar jobs Clear knowledge of site conditions Specific answers about installation decisions Photos showing finished workmanship The goal is not to hire the company with the biggest number. It is to find a synthetic turf contractor who can show relevant work and explain the decisions behind it. 2. Verify Licensing and Insurance Before Hiring Do not rely on a website statement that says a contractor is “licensed and insured.” Verify it. For a California project, the Contractors State License Board provides a public license search where homeowners can check a contractor’s license status and other available information. You should also ask for proof of general liability insurance and workers’ compensation insurance. The CSLB advises consumers to request a Certificate of Insurance or verify coverage with the contractor’s insurance carrier. California employers generally must carry workers’ compensation insurance for employees, subject to the rules and exemptions that apply to their situation. Check that the documents belong to the same company that will perform your project. Also ask about any certification the installer claims to hold. Certified synthetic turf contractors can be useful when the certification is relevant and verifiable. Do not treat a badge or logo alone as proof of installation skill. 3. Ask the Installer to Explain the Installation Process A professional should be able to explain the full artificial turf installation process for your property. The plan should address the site assessment, removal of existing material, excavation, subgrade preparation, base installation, compaction, grading, drainage planning, turf placement, cutting, seaming, edge securing, infill, and final inspection. The important part is not hearing a long list of steps. It is hearing a plan that fits your property. For example, a good installer should be able to explain what happens if the existing soil is soft, where rainwater currently flows, how the finished grade will be set, and how the turf will be secured around the edges. A vague answer such as “we prepare the ground and install the turf” does not tell you enough. For a deeper look at the full process, see our guide on how artificial grass is installed. 4. Examine How the Installer Prepares the Base The base is hidden after installation, but it has a major effect on the finished surface. Ask: “What base system will you use for my property, and how will you prepare and compact it?” A proper plan should consider the existing soil or subgrade, excavation depth, base material, base thickness, layering, compaction, and final surface preparation. Common materials may include aggregate, crushed rock, Class II road base, or decomposed granite, depending on the site and installation design. The correct choice depends on soil conditions, drainage needs, use, and local installation requirements. Do not accept a quote that simply says “base included.” Ask what material will be used and how it will be compacted. Poor soil stability or weak compaction can affect the finished surface. A detailed installer should be able to explain the proposed base rather than treating every yard the same. Our guide on sub-base for artificial grass explains this part of the installation in more detail. 5. Evaluate the Installer’s Drainage Plan Drainage deserves a direct conversation before work begins. Ask where water currently goes and what will happen after the artificial turf is installed. The installer should consider existing drainage conditions, site grading, water flow, low spots, soil drainage, the aggregate base, and the turf backing. A permeable backing can allow water to pass through the turf, but the whole installation still needs a suitable path for that water. For example, if a yard already has poor-draining soil or a low area, simply laying turf over it does not solve the underlying problem. The installer should explain how the finished grade and base will help move water away from the surface. Ask a simple question: “Where will the water go after it passes through the turf?” A clear answer is more useful than a promise that the turf “drains well.” Read our guide on how artificial turf drains water for more detail on this part of the installation. 6. Compare Turf Products and Material Quality Do not choose an installer based only on the turf’s color or price. Ask which turf manufacturer and product they recommend. Then ask why that product fits your property. A useful product discussion may include turf fibers, yarn construction, blade shape, backing, UV resistance, drainage characteristics, intended application,
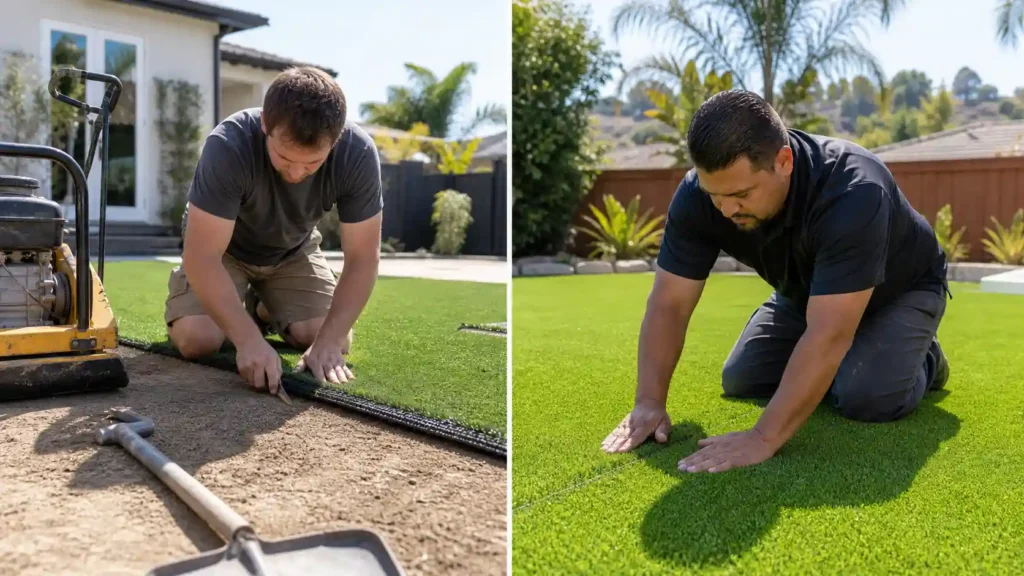
Split-screen photo comparing DIY and professional work, showing can you install artificial grass yourself with real backyard examples.
DIY vs Professional Installation

Can You Install Artificial Grass Yourself or Should You Hire a Professional?

Yes, you can install artificial grass yourself, but not every yard is a good DIY project. A small, simple lawn can be manageable if you have the tools, time, and strength for excavation, base work, cutting, and securing the turf. The real choice comes down to more than rolling out grass. Project size, site condition, drainage, seams, edge restraint, tool access, and the quality of the finished work all matter. A professional becomes more useful as those demands increase. This guide breaks down exactly where DIY gets hard, and where it pays to call in help. Can You Install Artificial Grass Yourself? Quick Answer DIY artificial grass sounds simple. Roll it out, cut it to fit, done. That is not how it actually works. The turf itself is the easy part to handle. The real work happens before you ever touch the roll. Ground prep, base compaction, drainage, and seams are what separate a lawn that lasts fifteen years from one that fails in twelve months. DIY synthetic grass installation is realistic when your project is small, your site is flat, and you are ready for real physical labor. For most residential lawn installation projects, site conditions matter more than skill level. You need basic tools, patience for precise cutting, and a willingness to get the base right before the turf goes down. Professional installation makes more sense as the yard gets bigger, the drainage gets trickier, or the layout gets more complicated. Complexity adds up fast on an installation project, and mistakes made early are hard to fix once the turf is already down. How Difficult Is DIY Artificial Turf Installation, Task by Task? DIY artificial turf installation involves three kinds of work: physical labor, precise detail work, and problem solving when the site is not perfectly flat or square. Here is where each task actually gets hard, and why a simple-looking step can turn into a technical one. Excavation Digging out the old lawn looks straightforward. In practice, you are removing soil, roots, and debris across the whole area, often three to four inches deep. The work becomes physically demanding fast, especially in clay soil or a sloped yard. Get the depth wrong and your finished turf sits too high or too low against patios and walkways. For the full process, see how to prepare the ground for artificial grass. Base Compaction Spreading base material looks simple. Compacting it correctly is not. You need even layers of aggregate, packed down with a plate compactor, not just a rake and your body weight. Skip a pass or rush the compaction, and the ground settles unevenly months later, leaving dips and low spots under your turf. Learn more in the sub-base for artificial grass. Turf Cutting Cutting turf looks easy with a utility knife and a straight edge. Inaccurate cuts waste expensive material and leave gaps at the edges. You have to measure twice, account for the direction the blades lay, and cut from the backing side, not through the face. One bad cut can mean ordering more turf. Seams Joining two pieces of turf looks easy from a distance. Poor seams remain visible up close, especially where the blade direction does not line up or the seam tape does not bond evenly across the full length. This detailed work is what separates a lawn that looks real from one that looks patched together. Fixing a bad seam after infill is down is much harder than getting it right the first time. Drainage Creating drainage looks simple: just tilt the ground downhill a little. Poor drainage planning causes standing water, odor, and a soggy base that can break down over time. You need the right slope, the right base material, and sometimes drainage holes cut into the backing itself. Read how artificial turf drains water to understand what the base actually has to do. Edge Restraint Securing the edges looks like a small, final step. Inadequate restraint lets the turf shift, lift, or pull away from borders after a season of foot traffic and weather. Bender boards, spikes, or nails need to go in at the correct spacing, not just loosely around the visible perimeter. If you have read through these six tasks and feel confident you can handle them, our complete artificial grass installation guide walks through the full process from start to finish. What Tools Do You Need for DIY Artificial Grass Installation? Tool access can change whether DIY makes financial sense. Ground preparation tools Typical ground preparation may require: Shovel Rake Wheelbarrow Plate compactor Hand tools for removing and shaping soil Turf installation tools You may also need: Utility knife Measuring tape Straight edge Chalk line or marking tool Seam tape Seam adhesive Fasteners or landscape nails Tools for securing the turf edges A Forbes Home artificial grass installation guide also lists common DIY equipment such as a shovel, rake, wheelbarrow, tape measure, carpet cutter, hand tamper, and other installation tools. Why tool availability matters Owning basic hand tools is not the same as having everything required for a larger project. You may need to rent a plate compactor or other equipment. You also need space to move and store materials during the job. That creates a simple test: If you already have suitable tools and can rent the remaining equipment at a reasonable cost, DIY may make sense. If getting the equipment becomes expensive or difficult, professional installation becomes more attractive. How Much Labor Does DIY Artificial Grass Installation Require? Labor goes up with square footage, excavation depth, the amount of base material you’re moving, and how many turf pieces you need to sew together. A small side yard might take one weekend. A full backyard with tricky access can take several days of hard, physical work. Installation time depends heavily on how much prep the site needs before the turf ever goes down. DIY saves you the cost of professional labor. It does not remove the labor itself. It just moves that work onto

Translate »
Seraphinite AcceleratorOptimized by Seraphinite Accelerator
Turns on site high speed to be attractive for people and search engines.