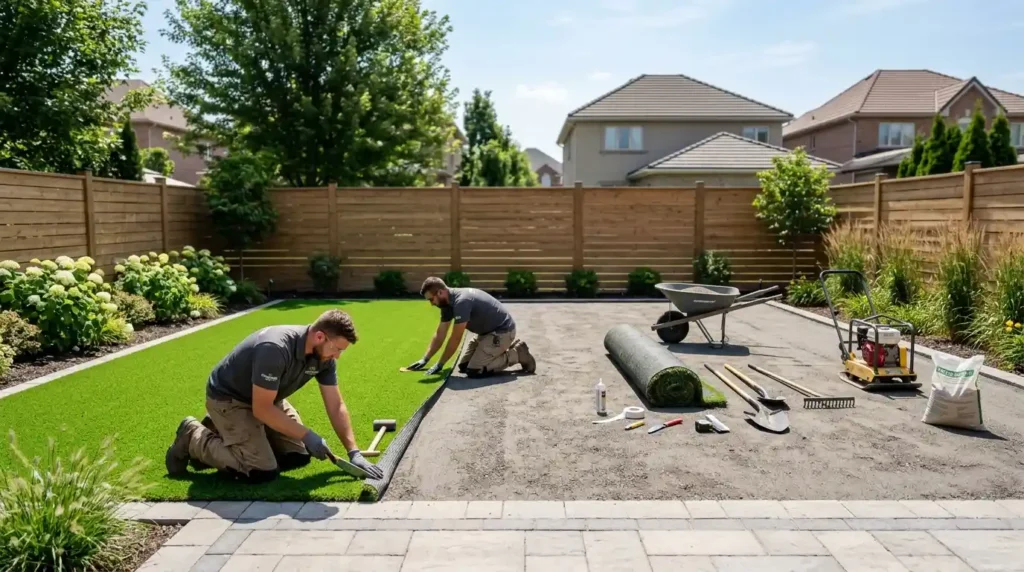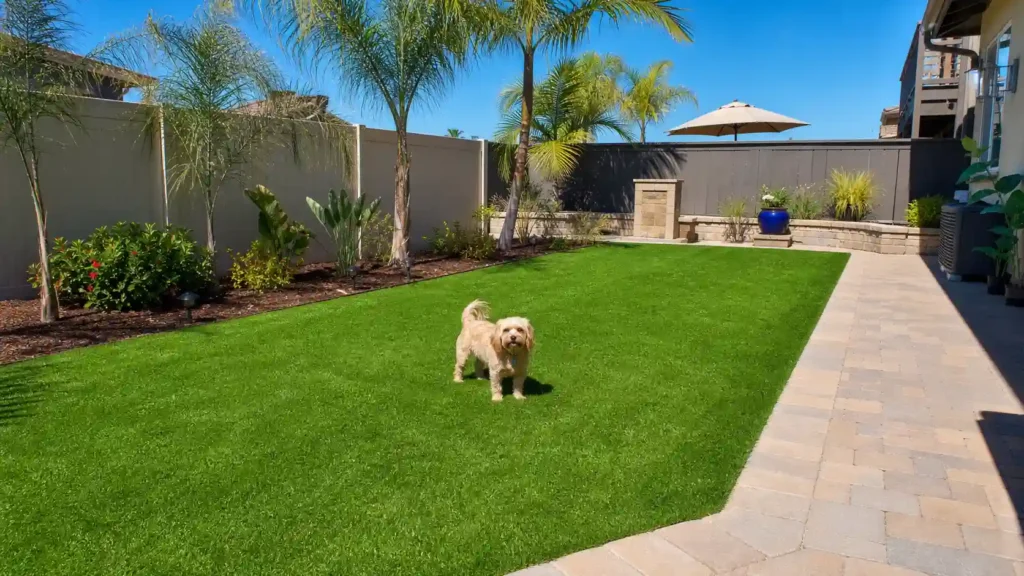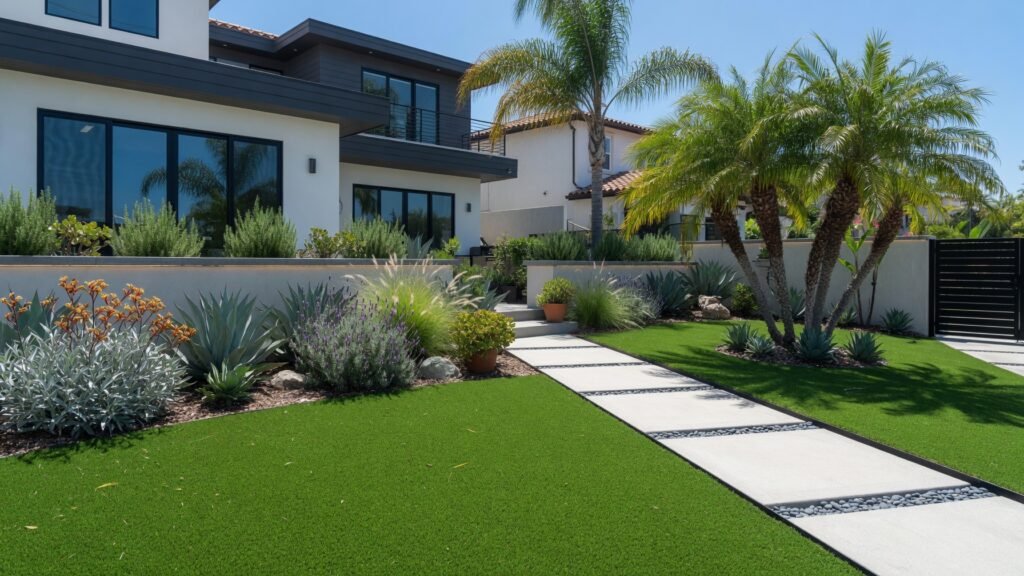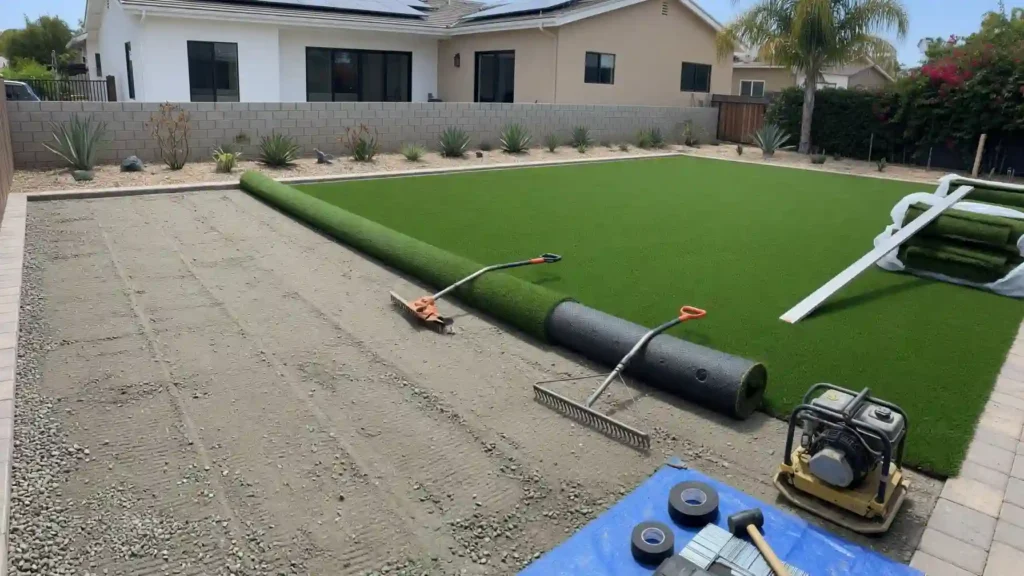
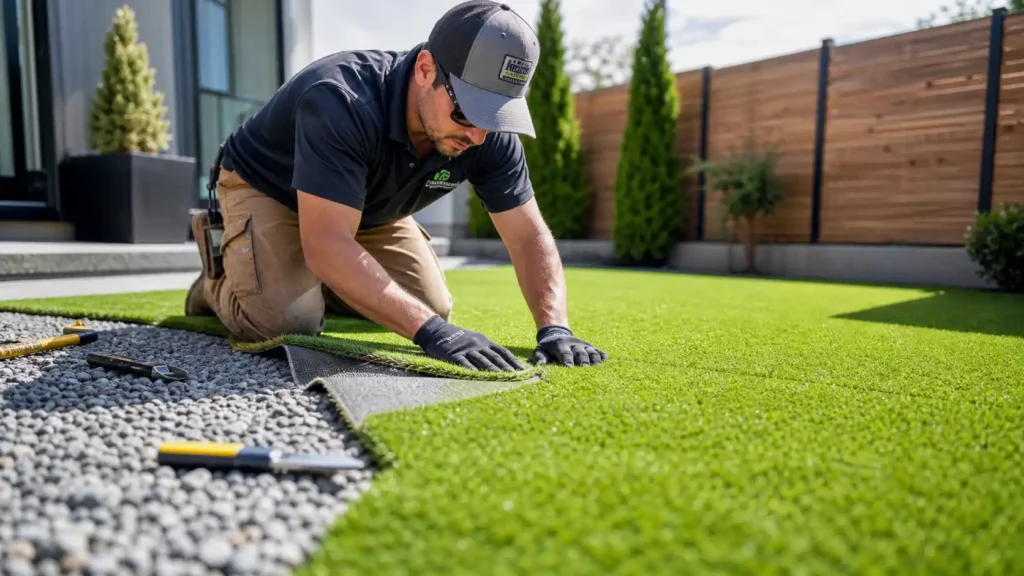
Most artificial grass problems start below the turf or around its edges. The biggest artificial grass installation mistakes involve excavation, base preparation, compaction, drainage, seams, edge restraint, turf direction, and infill. Fixing these issues after installation can cost far more than doing the work correctly the first time.
This guide explains what goes wrong, what you will notice when it happens, and how to prevent each problem. It also covers common finishing errors and signs that an artificial lawn has already been installed incorrectly.
What Happens When Artificial Grass Is Installed Incorrectly?
Every installation failure follows a chain. One weak link at the start causes bigger problems later.
- Poor excavation leads to an unstable base, and an unstable base leads to settlement and an uneven surface.
- Poor grading leads to bad drainage, and bad drainage leads to standing water.
- Wrong turf orientation leads to visible seams, and visible seams make the whole lawn look fake.
- Weak edge restraint lets the turf move, and movement causes curling.
- Wrong infill flattens the turf fibers and hurts drainage and comfort.
The Synthetic Turf Council notes that turf seams need secure fastening and minimal, uniform gaps. It also recommends secure edge anchoring and even infill installation in multiple applications when the turf system requires it.
The key point is simple: a turf roll can look perfect when it is first installed and still develop problems later if the layers underneath were not prepared correctly.
Once you see this chain, the five mistakes below make more sense. Each one sets off problems that show up months later, long after the crew has packed up and gone home.
Mistake 1: Inadequate Excavation and Site Preparation
Why Insufficient Excavation Causes Problems
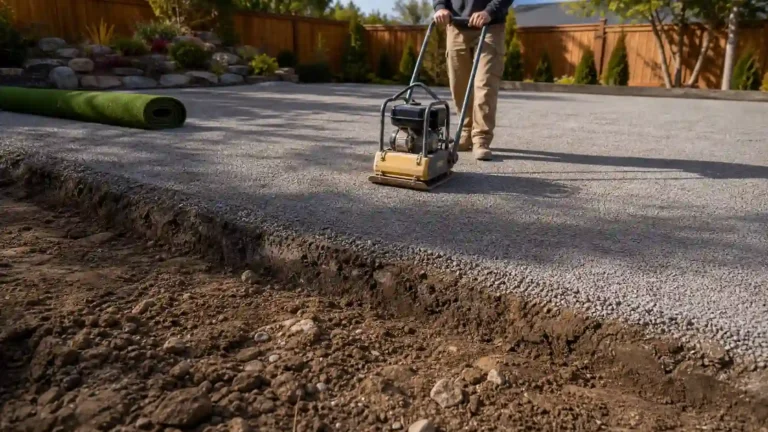
Skipping proper excavation is the most common starting point for a bad lawn. Installers need to remove the existing grass, roots, and any organic soil. They also need to clear rocks and debris from the site. Organic matter left behind breaks down over time and leaves soft spots under the turf. Most residential jobs need three to four inches of excavation depth, measured down to the finished grade, also called the finished elevation. Pet areas and high traffic zones usually need more.
What Happens When You Don’t Prepare the Ground Properly
Organic material left in the ground does not stay put. It breaks down slowly, and as it decomposes, the ground above it settles. That settlement shows up months later as dips, low spots, and an uneven surface that looked fine on install day.
How to Avoid It
A good crew follows the same sequence every time:
- Remove all vegetation and roots.
- Excavate to the correct depth.
- Remove rocks and debris.
- Establish the finished grade.
- Inspect the subgrade soil before moving forward.
- Prepare the area for the base.
Skipping any of these steps to save time almost always costs more later.
Mistake 2: Poor Base Preparation or Insufficient Compaction
Why the Sub-Base Matters
The sub-base is the layer that does the real work. It provides:
- Stability under the turf
- Load distribution across the surface
- Support for drainage
- A uniform, level surface
- Resistance to settlement over time
Most residential jobs use a compacted layer of crushed stone, decomposed granite, or a Class II road base. Without it, the turf above has nothing solid to rest on.
What Happens When the Base Isn’t Compacted Properly
Loose aggregate does not hold its shape under foot traffic. It shifts and settles, and that creates depressions right where you walk most. Compaction is not just running a plate compactor over the surface one time. It takes several passes in thin layers, called lifts, to reach the density a turf system needs. The NRCS soil compaction guide explains how compaction reduces the pore space in soil, which is part of why aggregate choice and moisture control matter as much as the compactor itself.
Common Base Preparation Mistakes
- Using the wrong aggregate for the soil type
- Uneven base thickness across the yard
- Poor grading before compaction
- Not enough compaction passes
- Compacting soil that is too wet
- Leaving soft spots unchecked
How to Avoid Base Failure
- Choose aggregate suited to your soil and drainage needs
- Keep the base layer thickness consistent
- Grade the yard before compacting
- Check soil moisture before running the compactor
- Walk the full area to check for soft or uneven spots
- Compact in lifts, not all at once
If you want to know about which one is the best base for artificial grass then read this: The best base for artificial grass
Mistake 3: Ignoring Drainage and Site Slope
Why Artificial Grass Can Still Have Drainage Problems
Many homeowners assume the turf handles drainage on its own. Turf backing does have drainage holes, and better products use a permeable backing. But the layers underneath, and the slope of your yard, decide whether water actually leaves the area. Turf with great drainage holes still fails if the base beneath it holds water.
What Causes Poor Drainage
- Inadequate slope
- Compacted soil that will not absorb water
- A poor-draining subgrade
- An inadequate base
- Blocked drainage paths
- Low spots that trap water
- Water flowing toward the house or other structures
- A drainage design that does not match the site
Signs of Drainage Failure
- Standing water after rain
- Puddles that take days to disappear
- Soggy or spongy areas
- Persistent odor in pet areas
- Moss or mold-related issues
- Water draining slower than it should
How to Prevent Drainage Problems
- Assess the site and existing water flow.
- Grade the yard away from structures.
- Build a base that supports drainage, not just weight.
- Plan a clear drainage path for water to exit.
- Install the turf last, once the layers below are right.
Pet areas need extra attention. A pet urine drainage failure causes lingering odor, and real odor control depends on a clean runoff path through a drainage channel under the turf, not just spraying the surface after the fact.
San Diego County gets short, heavy rain events rather than steady rainfall spread across the week. That pattern makes drainage planning even more important, because water needs somewhere to go fast, not slowly over days.
Mistake 4: Incorrect Turf Orientation, Seams, and Edge Restraint
Installing Turf With Inconsistent Pile Direction
Every roll of artificial turf has a grain, called the pile direction. The blades lean one way, similar to the nap on carpet. When two pieces face different directions, the color and shading look different depending on the angle you view them from. This is one of the most common problems in DIY installs. The fix is simple: check the pile direction on every piece before you cut, and keep it running the same way across the whole yard.
Creating Visible or Weak Seams
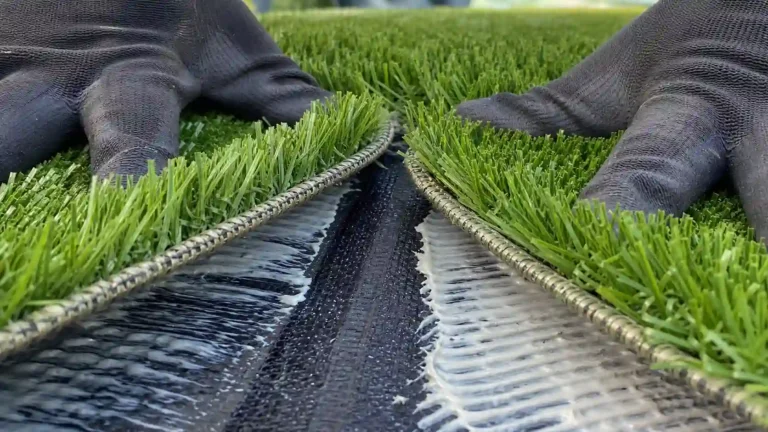
Seams show when the pile direction is off, the cut is inaccurate, or the alignment is sloppy. Good seam work uses matching pile direction, precise cuts, seam tape, and outdoor-rated adhesive. Installers also plan seam placement away from high visibility areas, like the center of the yard or the view from a front window.
Failing to Secure the Perimeter
This is one of the most overlooked mistakes on this list. Edge restraint keeps the perimeter of your turf locked in place. Without it, edges lift, curl, and shift over time. A stable perimeter uses proper fasteners, such as nails or staples, spaced correctly along the edge, plus clean transitions where the turf meets a walkway, patio, or fence line. Loose edges also let debris and pests get underneath the turf backing.
Mistake 5: Using the Wrong Infill or Applying It Incorrectly
What Artificial Turf Infill Actually Does
Infill is not just filler. It acts as ballast that holds the turf in place, and it supports the fibers so blades stand upright instead of matting down. The right infill also affects how the surface feels underfoot and how well it holds up under regular wear. The Synthetic Turf Council guidelines outline how infill choice and application rate affect long-term performance across different types of turf systems.
Common Infill Mistakes
- Skipping infill when the turf system requires it
- Using the wrong infill type for the application
- Applying too little
- Applying too much
- Spreading it unevenly
- Not brushing it into the turf after application
Choose Infill Based on Application
Infill needs change by use case:
- Residential lawns often use silica sand for weight and support
- Pet turf usually needs an antimicrobial infill to control odor and bacteria
- Playground turf needs infill rated for impact safety
- High traffic areas need infill that resists compaction over time
Picking one infill type for every yard is a shortcut, and it shows up later as odor, matting, or a lawn that feels too firm or too soft.
How to Avoid Infill Problems
- Choose infill suited to how the space will be used.
- Apply it at the rate the turf manufacturer recommends.
- Spread it evenly across the whole yard.
- Brush it into the fibers so it settles properly.
- Check fiber recovery after brushing. Blades should stand back up on their own.
Other Small Installation Mistakes That Can Cause Big Problems
A few more mistakes come up often, even though they are not one of the five main failure points:
- Ordering the wrong amount of turf, which forces a second order that may not match in color or batch
- Mixing turf from different batch numbers, which can create visible shading differences
- Installing turf right after unrolling it, before it has time to relax and lose its shipping creases
- Using inadequate tools, like a basic box cutter, instead of a proper turf cutter
- Skipping a weed barrier, also called a weed membrane, where the site actually needs one
- Choosing turf that does not match the intended use, like putting green turf on a dog run. Pile height and turf density both affect how a lawn performs, so matching the product to the application matters as much as the installation work itself
These issues are common in DIY installs, but a licensed crew plans around every one of them before the first roll goes down.
How to Tell If Your Artificial Grass Installation Went Wrong
If you already have turf down and something feels off, you are not alone. Artificial grass gone wrong usually shows clear warning signs. Most artificial grass installation mistakes leave a visible clue once you know what to look for. This table covers the most common artificial grass mistakes we get called to inspect.
What You See | What May Have Gone Wrong |
Depressions or sinking | Poor excavation, base, or compaction |
Bumpy turf | Poor grading or base preparation |
Standing water | Drainage or grading failure |
Visible seams | Poor cutting, orientation, or seaming |
Curling edges | Inadequate edge restraint |
Turf shifting or movement | Poor perimeter securing |
Flattened fibers | Incorrect or insufficient infill |
Patchy or checkerboard look | Incorrect pile direction |
Weeds pushing through | Weed barrier or site prep issue |
Persistent pet odor | Drainage, infill, or cleaning issue |
How to Avoid These Mistakes Before Installation Day
Before installation
- Inspect the site
- Measure accurately
- Plan turf orientation
- Determine excavation requirements
- Evaluate drainage
- Prepare the subgrade
- Select the appropriate base
- Plan edge restraint
- Plan seam placement
- Select the right turf and infill for the application
During installation
- Excavate correctly
- Grade the surface
- Build and compact the base
- Check drainage before laying turf
- Lay turf in the correct pile direction
- Construct seams carefully
- Secure the perimeter
- Apply infill at the correct rate
- Brush and inspect the surface
Final inspection checklist
- Surface level
- Drainage
- Seams
- Edges
- Pile direction
- Fiber appearance
- Infill distribution
- Transitions to walkways or patios
When Should You Fix Artificial Grass Yourself vs Call an Installer?
DIY may be reasonable when:
- The area is small and simple
- Access to the site is straightforward
- The layout has no tricky angles
- You have the right tools on hand
- You understand proper ground preparation
Professional help makes more sense when:
- Major excavation is needed
- Drainage is complicated
- The soil is unstable
- Multiple seams are required
- Edges or transitions are complex
- An existing installation has already failed
- The project is large or high-value
You may also want to read this post: How long does it take to install artificial grass?
Professional Artificial Turf Installation Services in San Diego County
Proper installation starts below the turf, not with the turf itself. SD Home Turf handles site preparation, excavation, base work, compaction, drainage planning, turf installation, seams, edge restraint, infill, and final inspection for artificial turf installation services in San Diego County. We follow this same process on every job because it is the difference between a lawn that lasts fifteen years and one that needs to be redone in two.
Avoiding common mistakes in artificial grass installation comes down to what happens before the turf ever gets rolled out. If your current turf shows any of the warning signs above, or you are planning a new install and want it done right the first time, talk to a licensed crew before you start.
Request a Free Consultation Call or Text: (619) 273-3088
Frequently Asked Questions
What is the most common artificial grass installation mistake?
The most common artificial grass installation mistake is poor base preparation. A weak or improperly compacted base causes most of the problems homeowners see later, including bumps, dips, and drainage failure.
What happens if artificial grass is not compacted properly?
Loose material under the turf settles unevenly over time. That creates soft spots, depressions, and a bumpy surface that was not there on install day.
Why does artificial grass get bumps or low spots?
Bumps and low spots usually come from an uneven base or soil that was not compacted enough before installation. Organic material left in the ground can also break down and cause settling.
Why is water pooling on my artificial grass?
Standing water is almost always a drainage or grading problem. It happens when the slope is off, the base does not drain well, or the drainage path is blocked.
Why can I see the seams in my artificial grass?
Visible seams usually mean the pile direction did not match between pieces, or the cut and seam placement were not accurate.
Why are the blades of my artificial grass facing different directions?
This happens when installers do not check the pile direction before laying each piece. It creates a patchy or checkerboard look, especially in bright sunlight.
Why are the edges of my artificial grass curling?
Curling edges point to weak or missing edge restraint. Without enough fasteners along the perimeter, the turf shifts and lifts over time.
Can artificial grass be installed without proper excavation?
It can be installed that way, but it will not perform well. Skipping excavation leaves organic material and soft soil under the turf, which leads to settling and an uneven surface within months.
What happens if artificial turf has too little infill?
Without enough infill, the fibers flatten and stay matted down. The turf also drains and feels different underfoot than it should.
Can artificial grass installation mistakes be repaired?
Some mistakes, like low infill or a missing weed barrier, can be fixed without a full redo. Others, like a poorly built base or bad drainage, usually require pulling up the turf and starting over from the ground up.