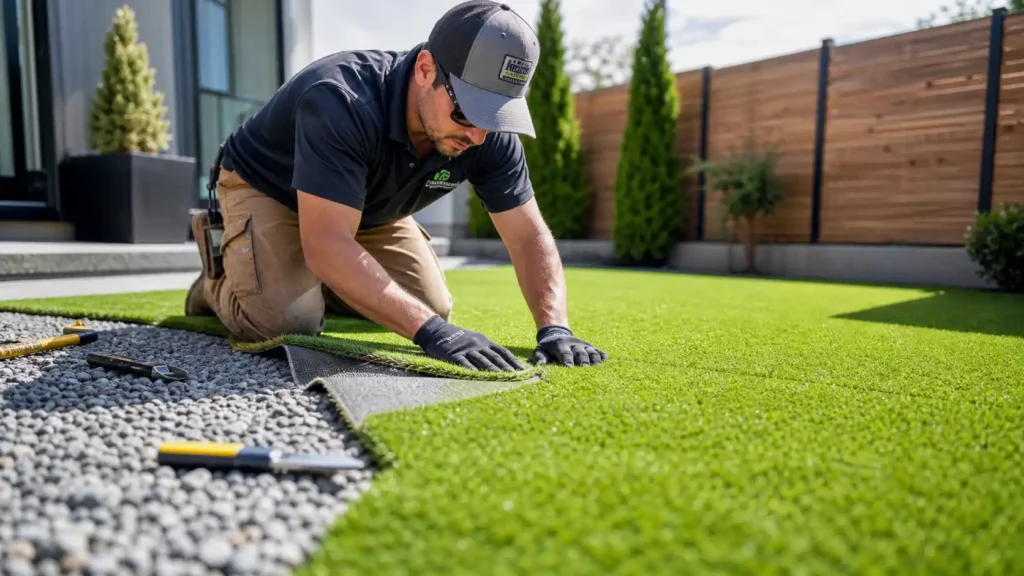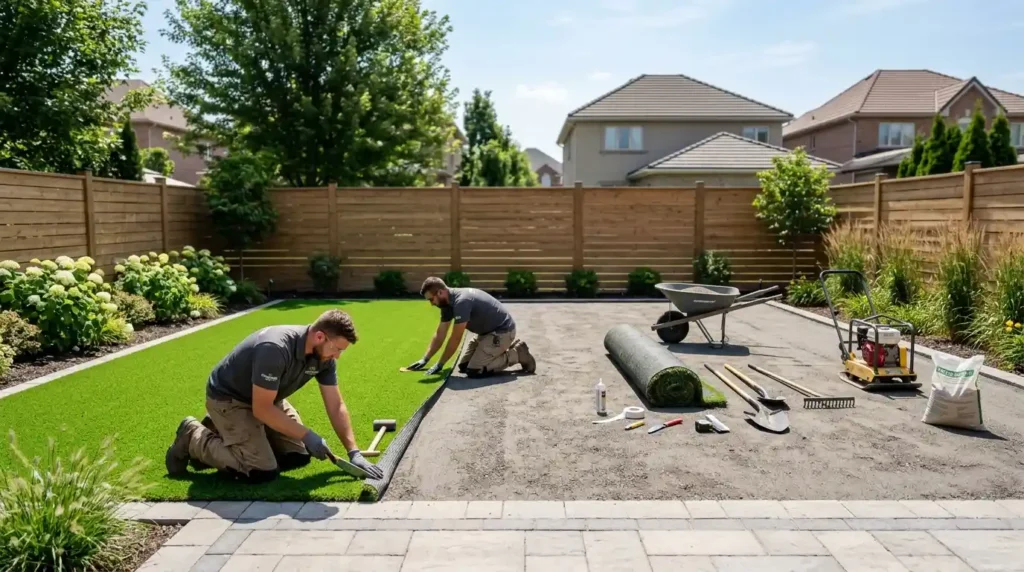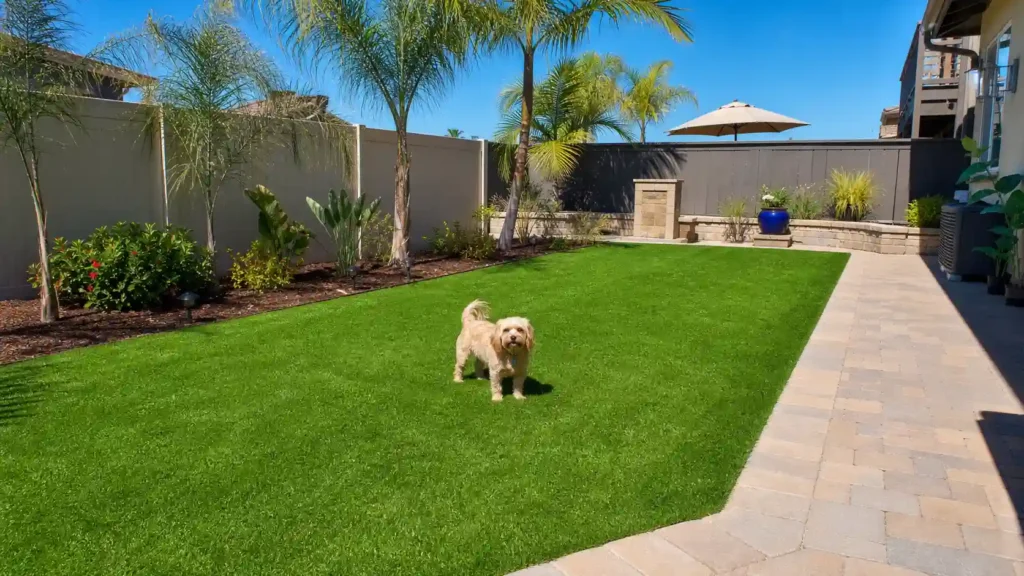
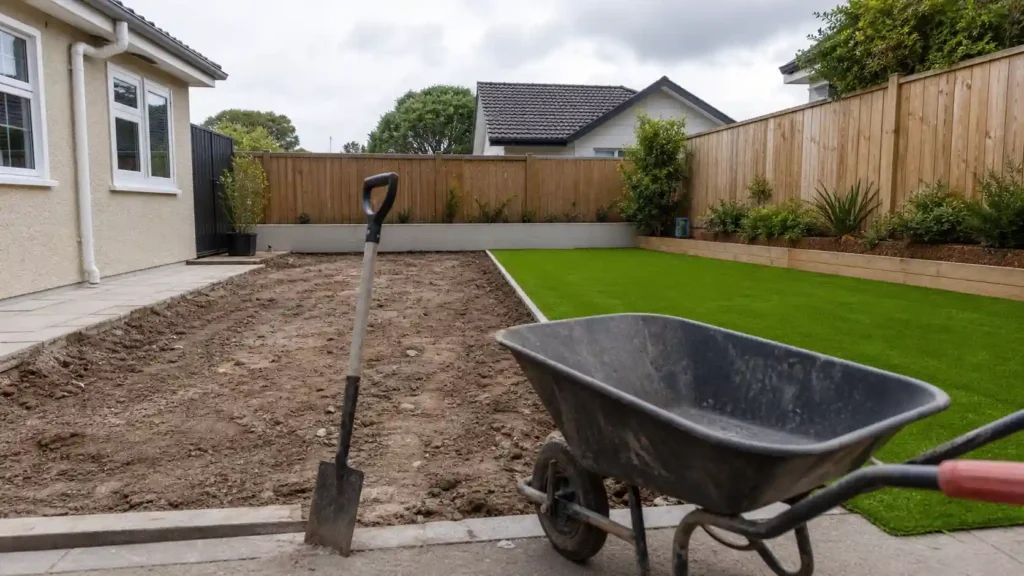
Proper artificial grass preparation starts with the ground, not the turf. You need to remove vegetation and organic material, establish the correct elevation and drainage, prepare a stable sub-base, compact it properly, install the right barrier, and make sure the perimeter is ready before laying the turf.
If you are learning how to prepare the ground for artificial grass, do not treat the job as simple leveling. The goal is to create a firm, well-drained, correctly graded surface that can support the entire turf system without soft spots, settling, or drainage problems.
What Does Ground Preparation for Artificial Grass Involve?
Good turf preparation follows a clear order:
Remove the old grass and debris. Excavate to the right depth. Grade the soil. Solve any drainage issues. Build the sub-base. Compact it. Add a weed barrier where it makes sense. Prepare the perimeter. Then check that everything is ready.
Each stage affects the next one. Removing roots but leaving poor drainage can still cause problems. Building a good sub-base over unstable soil can also lead to movement later.
The prepared subgrade is the soil surface below the sub-base. It needs to be clean, stable, correctly graded, and ready to support the base material.
Do You Have to Dig Up the Dirt Before Installing Artificial Grass?
For a permanent installation over soil, you generally need to excavate rather than simply laying turf on top of existing dirt.
Excavation does several jobs:
- Removes existing vegetation and roots
- Removes organic material that can decay
- Creates space for the sub-base
- Helps establish the correct finished elevation
- Allows proper grading
- Creates a stable foundation for the turf system
The excavation depth is not one universal number for every yard. Existing grade, soil condition, drainage, surrounding hardscape, and the required turf system all affect the amount of soil that needs to be removed.
The key is to reach the planned finished grade while leaving enough room for the complete base system.
Before digging, check for underground utilities. In the United States, 811 is the nationwide “Call Before You Dig” resource for having buried utilities marked before excavation.
How to Prepare the Ground for Artificial Grass
1. Remove Existing Grass, Weeds and Organic Material
Start with a clean area.
Remove existing sod, grass, weeds, roots, mulch, organic debris, and large rocks. A shovel or sod cutter can work for smaller residential areas. Larger projects may need mechanical equipment.
Do not leave a thin layer of grass or roots because it looks harmless. Organic material can break down after installation and leave voids beneath the system. Those voids can contribute to uneven areas and settlement.
The goal is to expose clean native soil that can be inspected and prepared.
Look across the entire area after removal. Check for:
- Remaining roots
- Buried organic matter
- Large rocks
- Loose soil
- Soft areas
- Old landscape material
- Low spots
This is also the point to remove anything that could interfere with the planned excavation and grade.
2. Excavate the Area to the Required Level
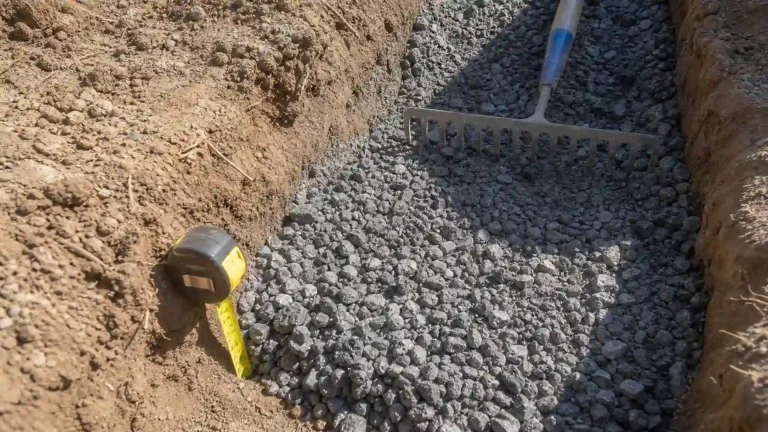
Once the vegetation is gone, excavate the site to the required finished elevation.
This is more than digging to a fixed number. You need to consider the existing grade and the height of the finished turf system compared with nearby surfaces.
For example, a turf area next to a concrete walkway needs a planned transition. If you remove too little soil, the finished surface may sit too high. If you remove too much, you create unnecessary work and material requirements.
During excavation, keep the subgrade reasonably consistent. Remove loose or unsuitable material instead of simply covering it with more aggregate.
The final excavation should provide enough room for the planned sub-base while keeping the finished surface at the correct elevation.
3. Grade the Ground Before Adding the Base
A common mistake is assuming that artificial turf requires a perfectly flat yard.
It does not.
The important goal is a properly graded surface that controls where water goes.
Check for:
- High spots
- Low spots
- Existing slope
- Runoff paths
- Uneven transitions
- Areas that collect water
A level surface and a properly graded surface are not always the same thing. A yard can look flat while still having poor water flow.
Your finished grade should support the drainage plan and work with the surrounding property.
The exact slope depends on the site. Do not force the same grade onto every yard. Existing structures, property drainage, hardscape, and local conditions all matter.
4. Address Drainage Problems Before Installing the Sub-Base
Drainage needs to be checked before you cover the soil with aggregate.
Look for standing water, saturated soil, water flowing toward the turf area, downspout discharge, low spots, dense clay, and unstable soil.
If water already collects in the proposed turf area, simply adding a thicker base does not automatically solve the problem.
Do not use the sub-base to hide a drainage problem.
Dense clay can slow water movement. A hardpan layer can also restrict drainage below the surface. Saturated or unstable soil may need additional preparation before the base is installed.
Depending on the site, the solution may involve correcting the slope, improving the drainage path, or adding a suitable drainage system.
The important point is to solve the water problem before continuing with the base.
A properly prepared surface should have a clear path for surface runoff rather than relying on chance.
5. Prepare and Install the Sub-Base
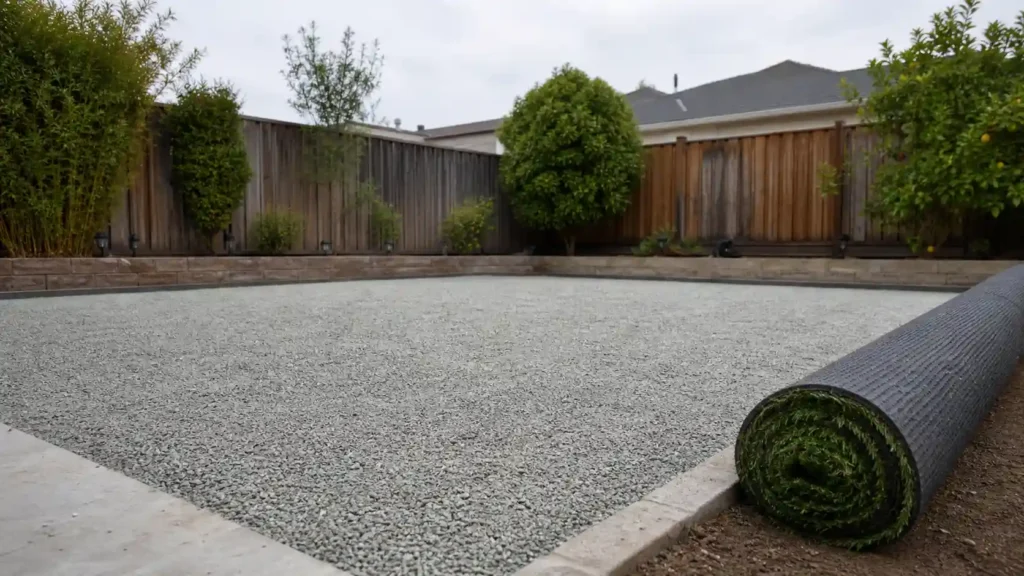
After the subgrade is excavated, graded, and ready, the sub-base provides the stable working surface above the native soil.
The sub-base helps create a firm foundation and supports drainage through the turf system.
Common base material choices include:
- Crushed rock
- Class II road base
- Decomposed granite
- Other suitable aggregate specified for the installation
The right material depends on the project. Soil condition, drainage, traffic, and the desired finished surface all matter.
This article does not need to repeat a full comparison of base materials. For a deeper discussion of material selection, see The Best Base for Artificial Grass.
Spread the aggregate evenly across the prepared subgrade. Build the surface to the planned grade rather than creating a flat layer that ignores the drainage plan.
The base should be consistent before the final compaction stage.
6. Compact the Ground and Sub-Base Properly
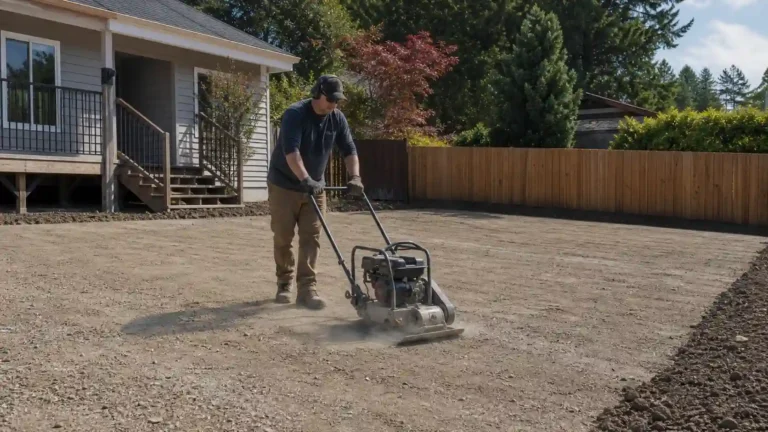
There are two different surfaces to think about here:
Native soil or subgrade compaction and sub-base compaction.
If the native soil is loose, it needs to be firm enough to support the base. The sub-base then needs its own compaction to create a stable surface.
For most residential work, a plate compactor is useful for larger areas. A hand tamper can work in small spaces or tight areas where equipment cannot reach.
Make multiple passes instead of assuming one pass is enough.
Watch for:
- Soft spots
- Loose areas
- Uneven compaction
- Settlement
- Areas that move under foot pressure
The finished surface should feel firm and stable rather than yielding under normal foot pressure.
RCP Block & Brick, for example, specifies compacting its base to 95% in its general installation guidance. That figure belongs to its stated installation specification, so it should not be treated as a universal requirement for every turf project.
The important principle is consistent, firm compaction that matches the installation specification for the project.
7. Install the Weed Barrier Where the Site Requires It
A weed barrier is not simply a sheet that gets placed everywhere without thought.
Depending on the site and installation system, fabric can help with weed prevention, soil separation, and limiting soil migration between the native soil and aggregate.
Common materials include geotextile fabric and landscape fabric.
Some sites may benefit from fabric between soft native soil and the aggregate. Other installations may use a weed barrier above the base. The correct position depends on soil conditions and the installation system.
If fabric is used, lay it flat and avoid unnecessary folds. Overlap adjoining sections as required, then secure the material with landscape staples or the specified fasteners.
RCP Block & Brick notes that fabric placement can change when soil shifts or becomes unstable when saturated.
The key is to use the barrier for the job it is meant to perform. It should not be used as a substitute for fixing major drainage or soil-stability problems.
8. Prepare the Perimeter Before Laying the Turf
The perimeter needs attention before turf is installed.
Look at every edge where the artificial grass will meet another surface.
This can include:
- Concrete
- Pavers
- Existing landscape borders
- Edging
- Other hardscape
- Soil edges
- Edge restraint systems
The question is simple:
Where should the finished turf sit compared with the surface around it?
The planned finished elevation should create a clean transition without an unnecessary lip or low edge.
Preparing the perimeter at this stage also gives the turf a defined boundary later. It is easier to solve an elevation or edging problem before the turf is installed than after the finished surface is in place.
This is ground preparation, not turf installation. The goal here is to prepare the boundary condition so the turf can be installed onto a stable and correctly positioned surface.
How Do You Know the Ground Is Ready for Artificial Grass?
Before laying turf, perform a final inspection.
The prepared ground should have:
- No remaining vegetation or organic debris
- Roots removed from the installation area
- The correct excavation depth and elevation
- No obvious high or low spots
- A planned drainage path
- No unresolved standing-water problem
- Stable native soil or subgrade
- A properly installed and compacted sub-base
- No soft or pumping areas
- An appropriate weed barrier where required
- A prepared perimeter
- A surface that feels firm and ready for turf
A simple water check can also help identify obvious pooling. Pour water over questionable areas and watch where it moves.
If water immediately collects in one low area, stop and correct the grade or drainage issue before continuing.
This final inspection answers the question many homeowners overlook:
Is the ground actually ready?
If the answer is no, installing turf will not make the preparation problem disappear.
How Do I Install Artificial Grass on Dirt?
You do not normally install permanent artificial grass directly onto untreated dirt.
The normal ground-preparation sequence is:
Start with bare dirt, remove the vegetation, excavate, grade the site, solve drainage, build the sub-base, compact it, add a barrier if needed, prepare the perimeter, then install the turf itself.
Artificial Turf Express, Lowe’s, Turf Kingz, and RCP Block & Brick all place ground preparation before the turf is installed, although their exact methods and specifications differ.
If you need the complete process after the ground is ready, continue with How to Install Artificial Grass: A Complete Installation Guide.
Professional Ground Preparation in San Diego County
Ground preparation becomes more important when a yard has dense clay, drainage issues, difficult grades, old vegetation, or unstable soil.
For homeowners who do not want to manage excavation, grading, compaction, and drainage preparation themselves, artificial grass installation services in San Diego County can handle the complete ground-preparation process as part of the installation.
SD Home Turf provides artificial turf installation in San Diego County and states that its team is licensed, bonded, and insured.
Cost depends heavily on the amount of excavation, soil removal, drainage work, access, yard shape, and base preparation. As a current national reference, Angi’s July 2026 data places complete artificial grass installation at about $3,242 to $8,711, with materials commonly ranging from $2 to $8 per square foot. It also lists excavation at roughly $150 to $600, although difficult sites can cost more.
For a property-specific price, the only useful number is based on an actual site assessment.
Need help preparing your yard? Contact SD Home Turf for a consultation and a project-specific estimate.
Final Ground Preparation Checklist
Before turf installation, make sure you can check every box:
- Existing grass and vegetation removed
- Roots and organic material removed
- Excavation completed
- Finished elevation established
- High and low areas corrected
- Drainage problems addressed
- Sub-base installed
- Sub-base compacted
- Soft spots corrected
- Weed barrier installed where appropriate
- Perimeter prepared
- Surface is firm and ready for turf
Frequently Asked Questions
Do you have to dig up the dirt for artificial grass?
For a permanent installation over soil, excavation is normally needed. It removes vegetation and organic matter while creating room for the sub-base and the correct finished elevation.
Can you install artificial grass directly on dirt?
Permanent artificial grass should not normally be laid directly over untreated dirt. The soil needs proper preparation and a stable sub-base before the turf is installed.
How deep should you excavate for artificial grass?
There is no single depth that fits every property. The required excavation depends on the existing elevation, soil condition, drainage, surrounding surfaces, and the complete turf system being installed.
What should the ground look like before artificial grass is installed?
It should be clean, firm, properly graded, free of vegetation and organic debris, free of unresolved soft spots, and prepared with a stable compacted sub-base.
Does the ground need to be perfectly level for artificial grass?
No. It needs to be properly graded. A controlled slope can help direct runoff and prevent water from collecting in low areas.